DuinOS Installation – Windows
This document provides information showing how to install DuinOS using a Windows based PC. For more information about DuinOS and its usage, refer to the here.
Requirements
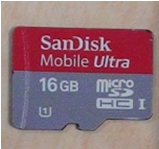
- A blank MicroSD storage card (1 GB or larger)
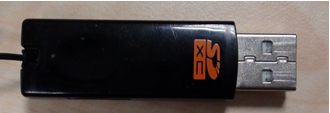
- An USB to MicroSD adapter
Step 1
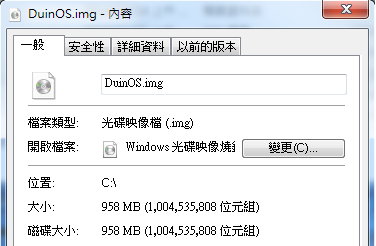
Download the latest DuinOS and unzip to a local folder on your PC. The unzipped DuinOS.img file should be about 1 GB.
Step 2
There are two options to install DuinOS, using dd or Win32 Disk Imager.
For information showing how to use dd to install DuinOS, refer to the here.
In this application note, we will show how to use Win32 Disk Imager to install DuinOS.
First, download Win32 Disk Imager installation package from Sourceforge via the here.
After download, launch the Win32 Disk Imager installer to install the program, as shown below:
Step 3
In this section, we will work through the steps to configure the MicroSD flash storage card with DuinOS.
Insert the MicroSD flash storage to the USB-to-MicroSD adapter. Then, insert the USB-to-MicroSD adapter to the PC.

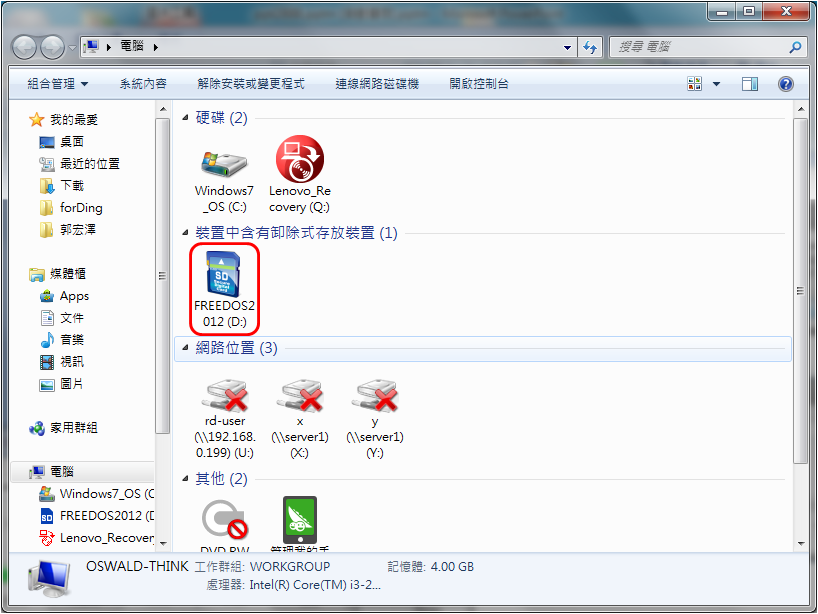
Wait for your PC to detect and recognize the MicroSD storage and make a note of the drive letter assigned for the MicroSD storage card, similar to the screen below:
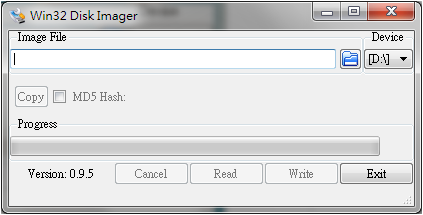
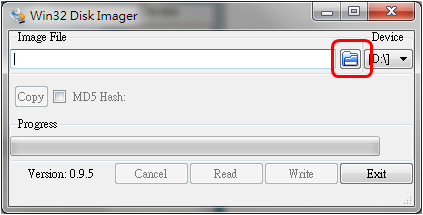
Launch Win32 Disk Imager. From the Win32 Disk Imager screen, select the DuinOS.img file as shown below:
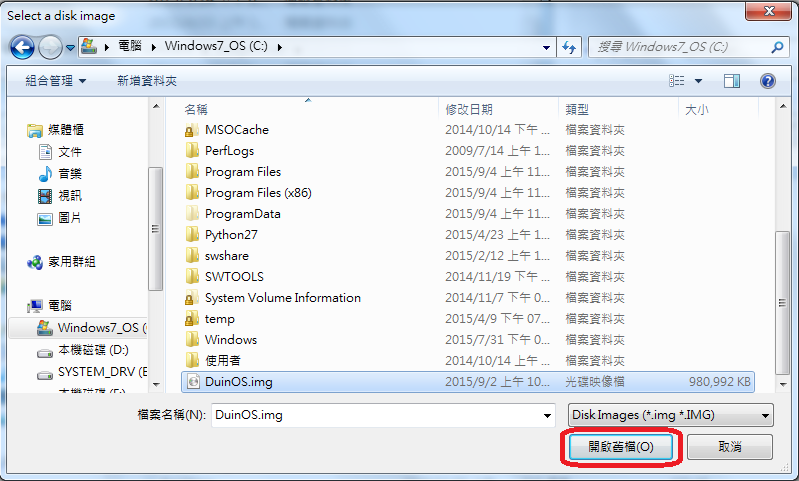
Select DuinOS.img just downloaded file, then press the “Open”:
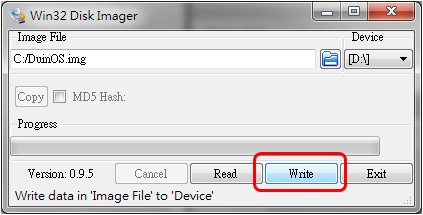
Select the drive letter assigned to the MicroSD flash storage as the target drive, as shown below:

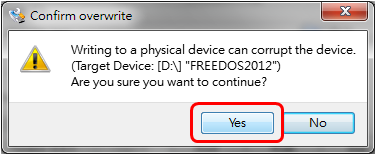
Click on the Write button to configure and copy DuinOS image onto the MicroSD, as shown below:
Click on the Yes button to confirm.
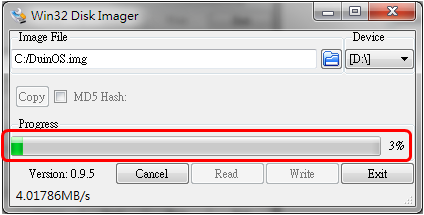
Next, the Win32 Disk Imager copy the DuinOS.img onto the MicroSD storage and show its progress, as shown below:
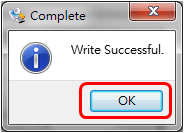
After DuinOS.img is successfully copied onto the MicroSD flash storage, the following Complete screen is shown. Click on the OK button to complete the process.
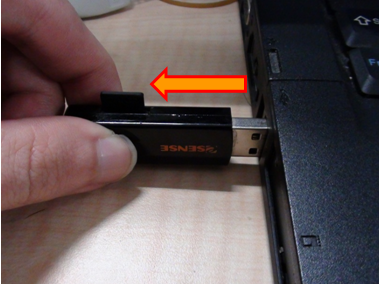
Use the proper steps to dismount and remove the USB-to-MicroSD adapter from the PC.
Step 4
Next, we will use the MicroSD prepared in Step 3 as the boot device for an 86Duino board.
Insert the MicroSD to the 86Duino board as shown below.
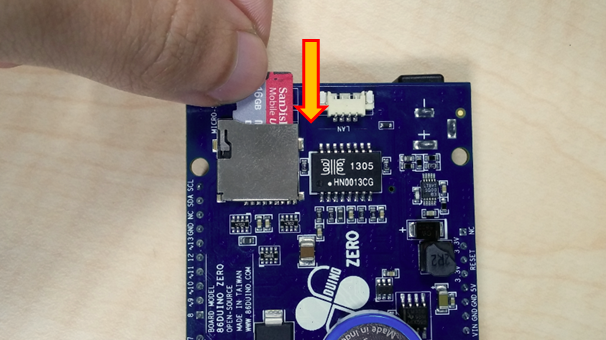
After MicroSD storage card is properly inserted, apply power to the 86Duino board to boot to DuinOS, with MicroSD as the bootable storage.
For more information about DuinOS usage, refer to the here.
The text of the 86Duino reference is licensed under a Creative Commons Attribution-ShareAlike 3.0 License.