Overclock 86Duino to 400/444/500MHz
In 86Duino clock list, we can enter the following characters to select the overclocking options:
- Enter
zto select 400MHz - Enter
xto select 444MHz (only available on SysImage 20150312 and later) - Enter
cto select 500MHz (only available on SysImage 20150312 and later)
Note that overclocking increases the power consumption of 86Duino (e.g., 2.6W at 500MHz), and therefore it is necessary to supply sufficient power input to make the board work stably.
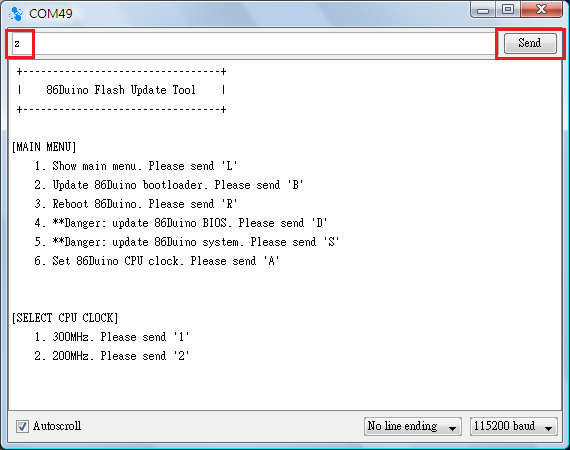
The following steps, we enter z to select 400Mhz for example and then click the “Send” button to continue.
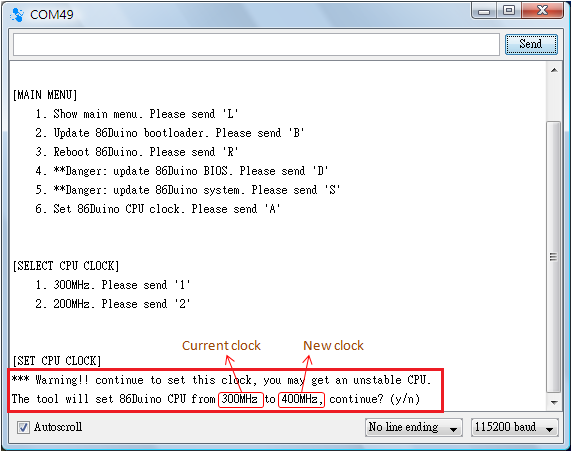
Serial monitor displays message to indicate the CPU clock to be updated, as shown below.
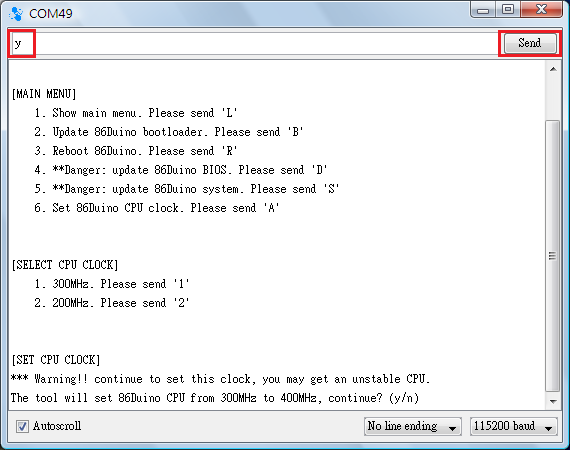
Enter y and click the Send button to continue.
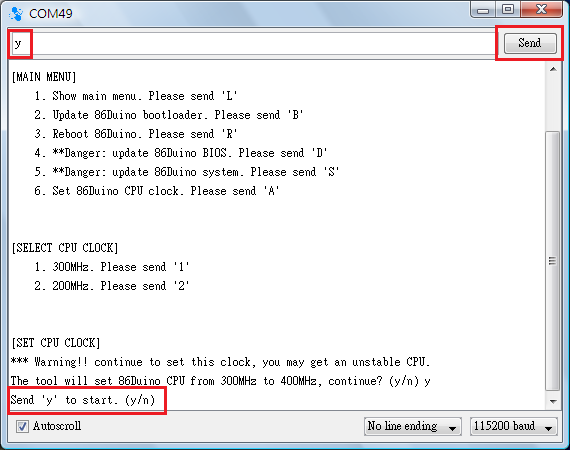
Enter y and click the Send button, one more time, to confirm and continue.
After CPU clock is updated, serial monitor screen indicate the process is complete , as shown below.
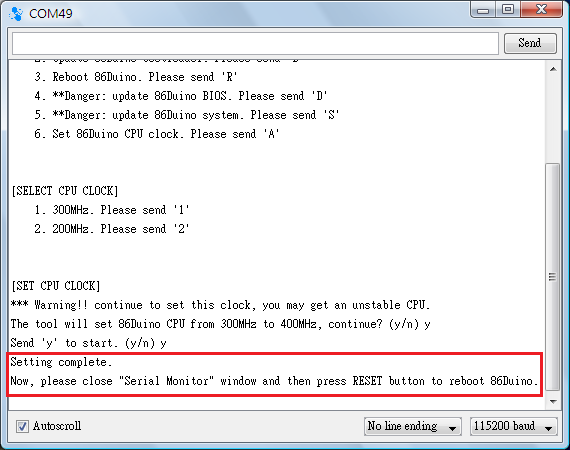
Next, close the “Serial Monitor” window and then press RESET button on 86Duino. After 86Duino reboot, the new clock setting will be applied.