Getting Started with 86Duino on Mac OS X
This document explains how to connect your 86Duino board to the computer and upload your first sketch.
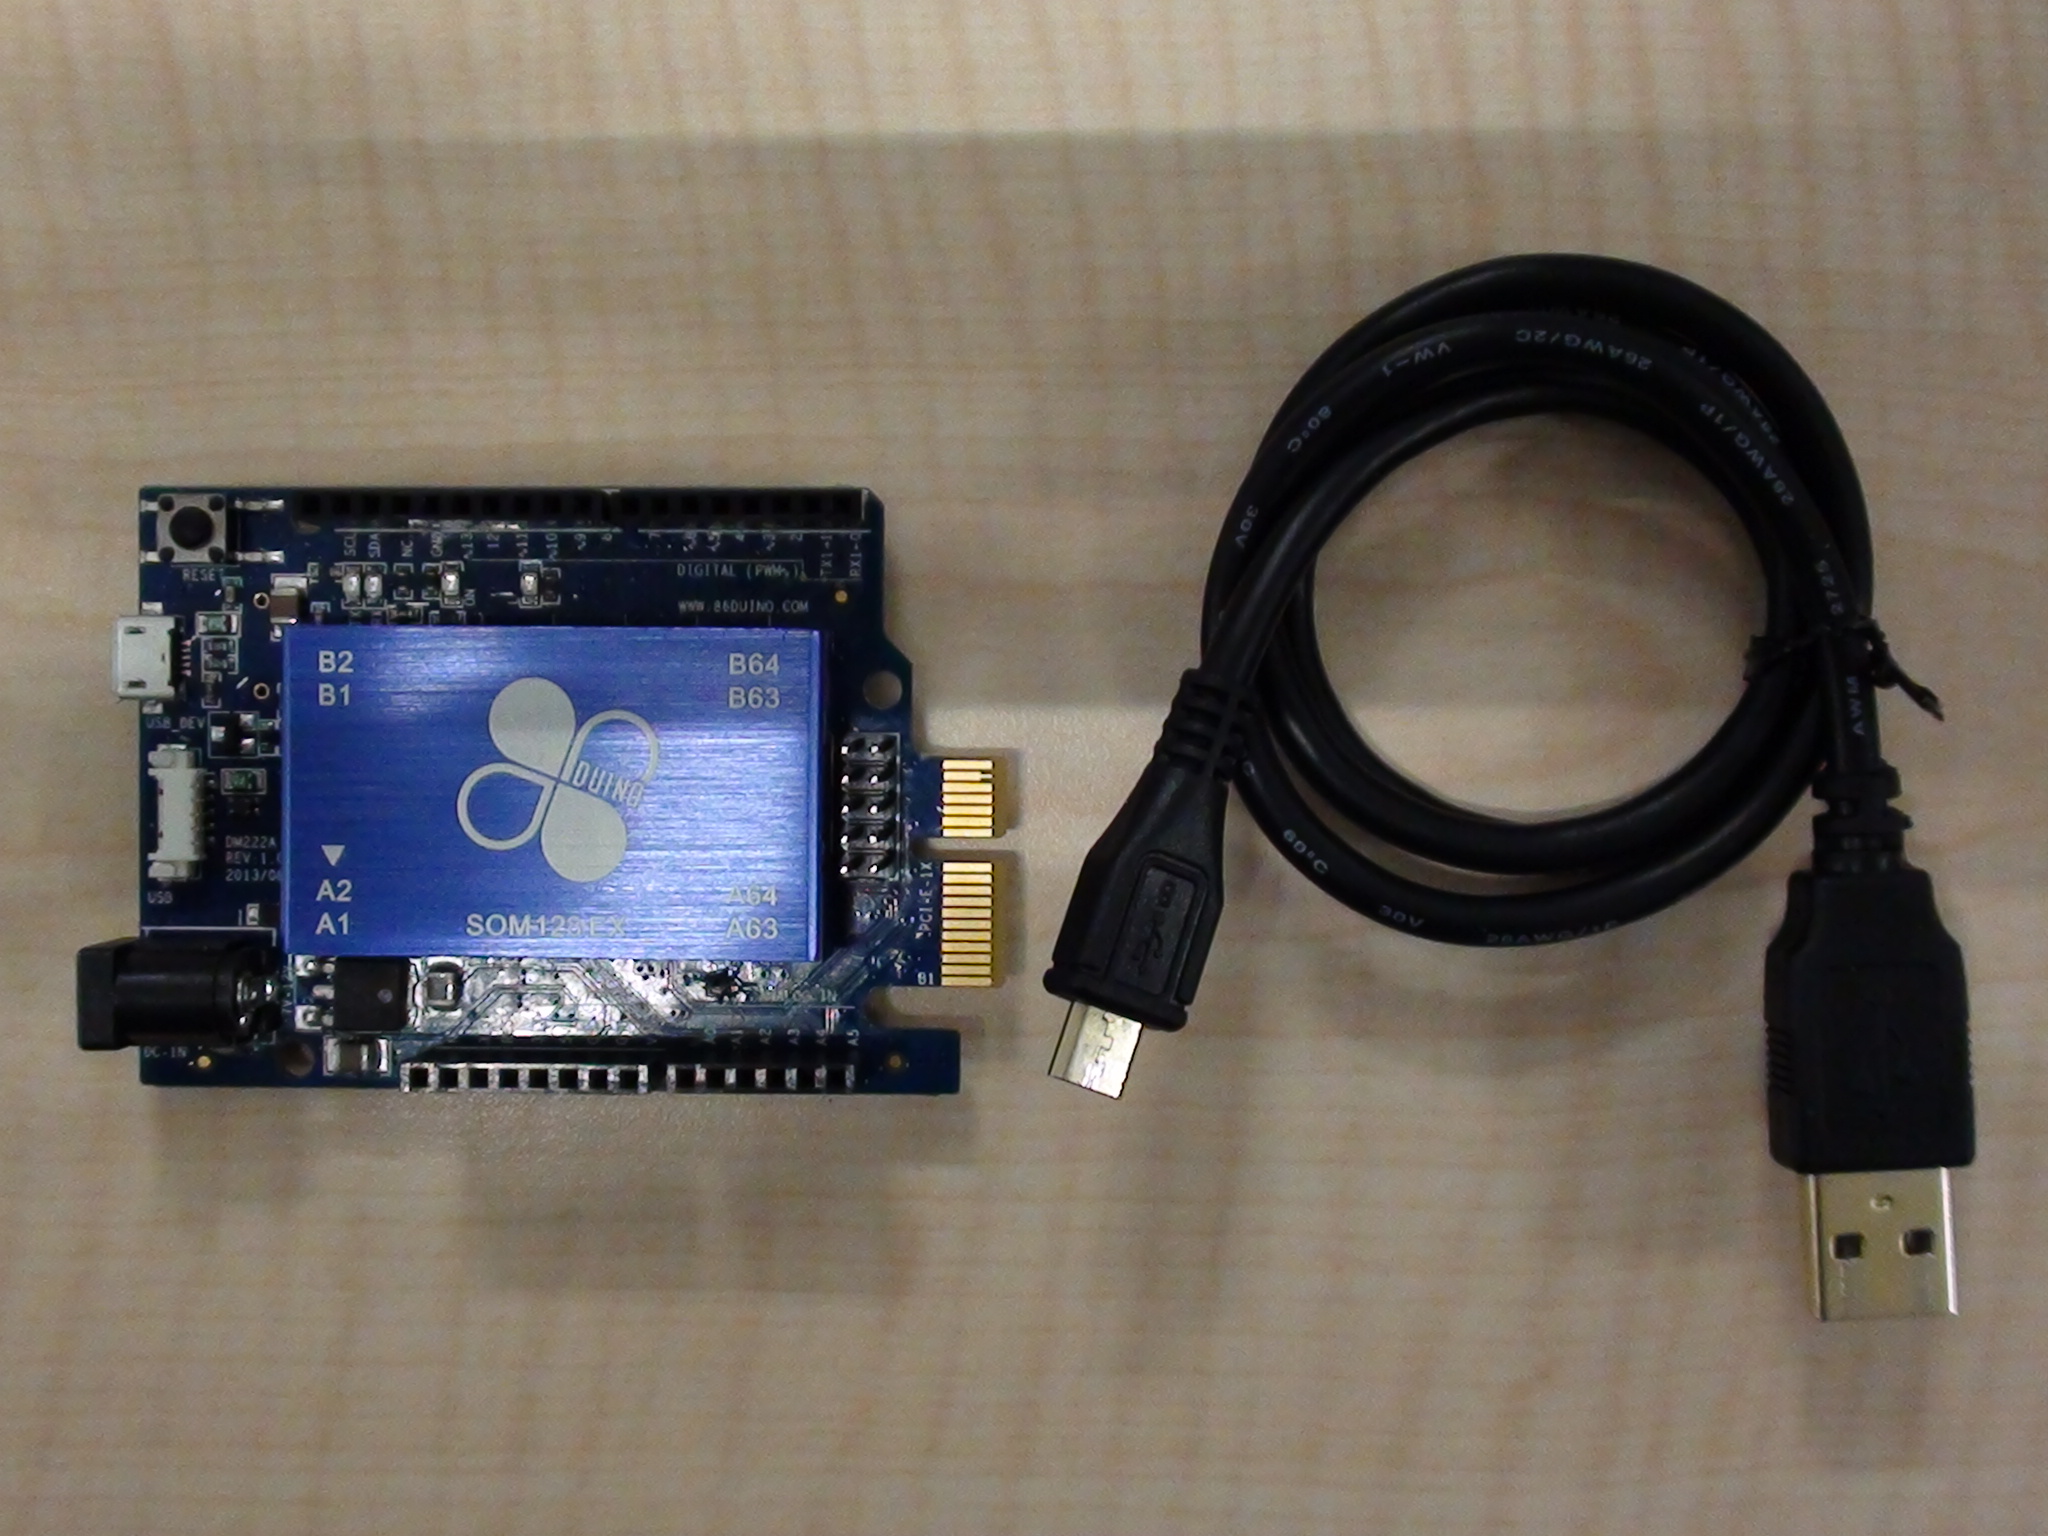
1) Get an 86Duino board and USB cable
In this tutorial, we assume you’re using an 86Duino Zero, 86Duino One, or 86Duino EduCake.
You also need a standard USB cable (MicroUSB to USB): the kind you would connect to a smartphone, for example.
2) Download the 86Duino Coding environment
Get the latest version from the download page.
When the download is finished, double click the .zip fle. This will expand the 86Duino application.
3) Install the Software
Copy the 86Duino application into the Applications folder (or elsewhere on your computer).
4) Connect the board
Connect the 86Duino board to your computer using the USB cable. The power LED should go on.
5) Launch the 86Duino application
Double-click the 86Duino application. (Note: if the 86Duino software loads in the wrong language, you can change it in the preferences dialog. See the environment page for details.)
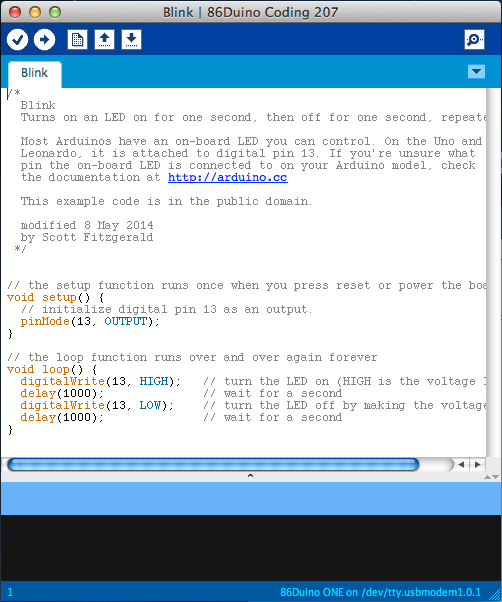
6) Open the blink example
Open the LED blink example sketch: File > Examples > 1.Basics > Blink.
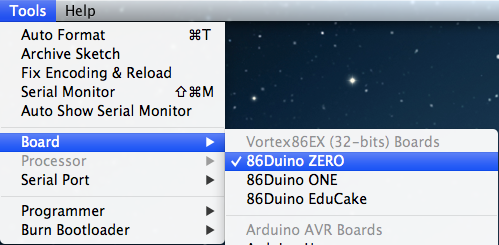
7) Select your board
You’ll need to select the entry in the Tools > Board menu that corresponds to your 86Duino.
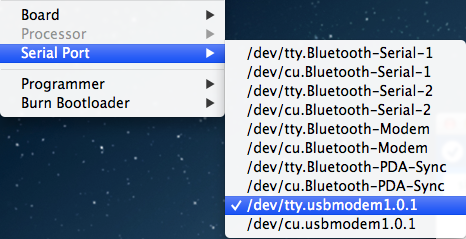
8) Select your serial port
Select the serial device of the 86Duino board from the Tools > Serial Port menu. On the Mac, this should be something with /dev/tty.usbmodem in it.
9) Upload the program
Now, simply click the “Upload” button in the environment. Wait a few seconds – on the 86Duino Zero and One, you should see the RX and TX leds on the board flashing. If the upload is successful, the message “Done uploading.” will appear in the status bar.
![]()
A few seconds after the upload finishes, you should see the pin 13 LED on the board start to blink. If it does, congratulations! You’ve gotten 86Duino up-and-running.
If you have problems, please ask in the forum.
The text of the 86Duino reference is modified from Arduino’s guides and is licensed under a Creative Commons Attribution-ShareAlike 3.0 License.