Installing 86Duino Coding on Linux
The 86Duino IDE is derived from Arduino 1.5.8. Steps to install 86Duino IDE to a Linux workstation is identical to the steps presented on the Arduino Playground website.
The following section works through the steps to install the 86Duino development environment onto a Linux workstation. (See the older version here before Coding 207)
Step 1
To setup an appropriate development environment, refer to the instruction associates with the Linux distribution you are using:
Step 2
Download the 86Duino IDE, for Linux, from the 86Duino download section.
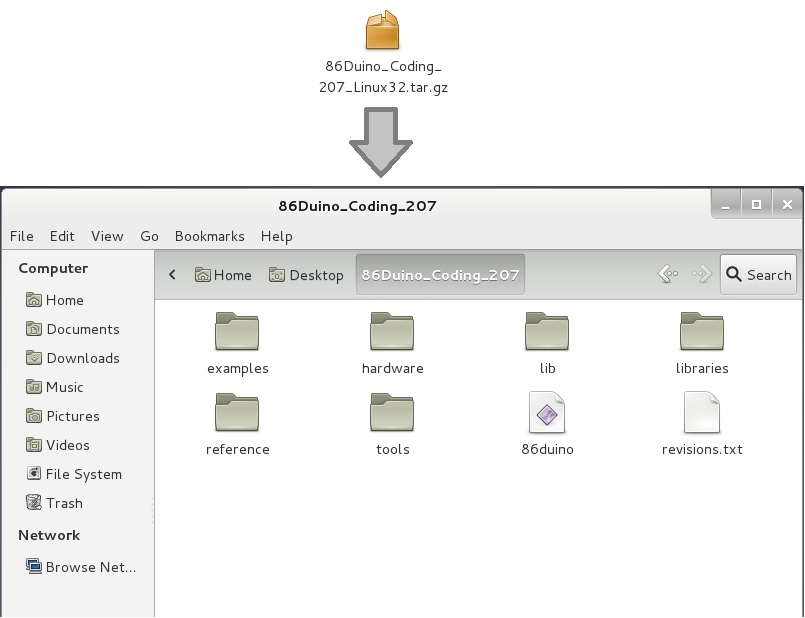
Decompress the 86Duino IDE to a folder:
Step 3
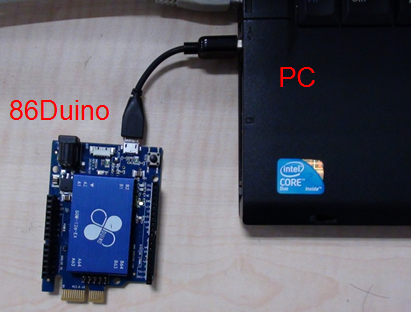
Attach 86Duino hardware to your development machine via the USB interfaces, a shown below.
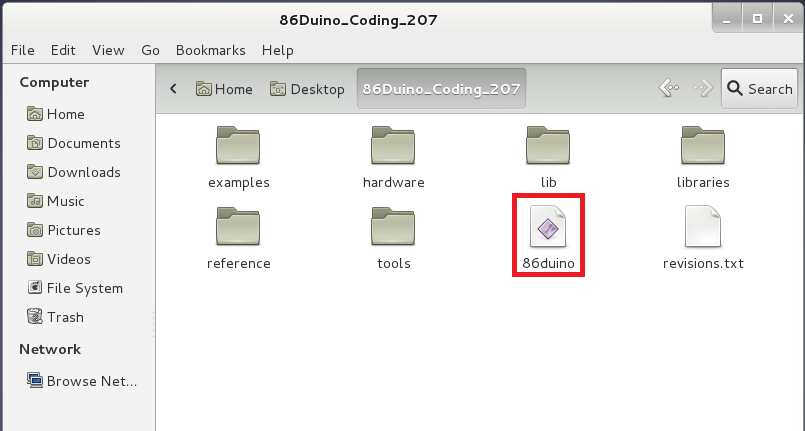
From the folder, where you decompressed 86Duino coding files in the previous step, launch 86duino executable.
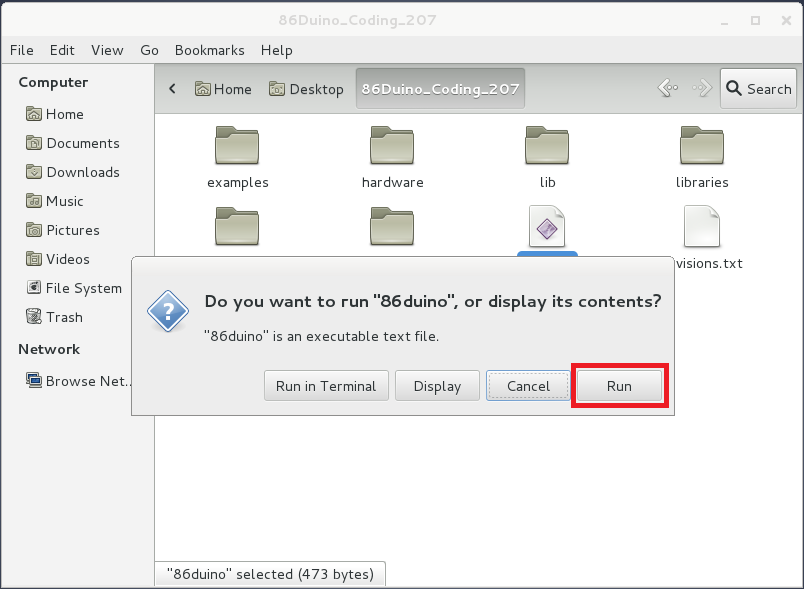
On the Execute File popup screen, click on Run.
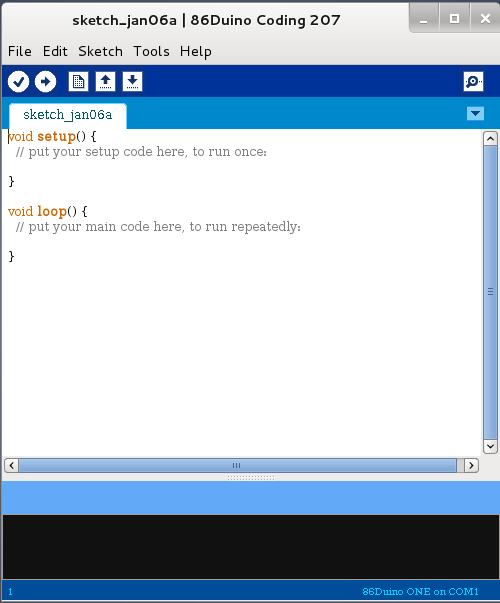
The 86Duino Coding screen is launched, which indicates the 86Duino development IDE is installed.
In the following steps, we will launch the Blink sketch (a blinking LED sample application) to check and validate whether the newly installed 86Duino development environment is able to compile the sketch and deploy to the attached 86Duino hardware.
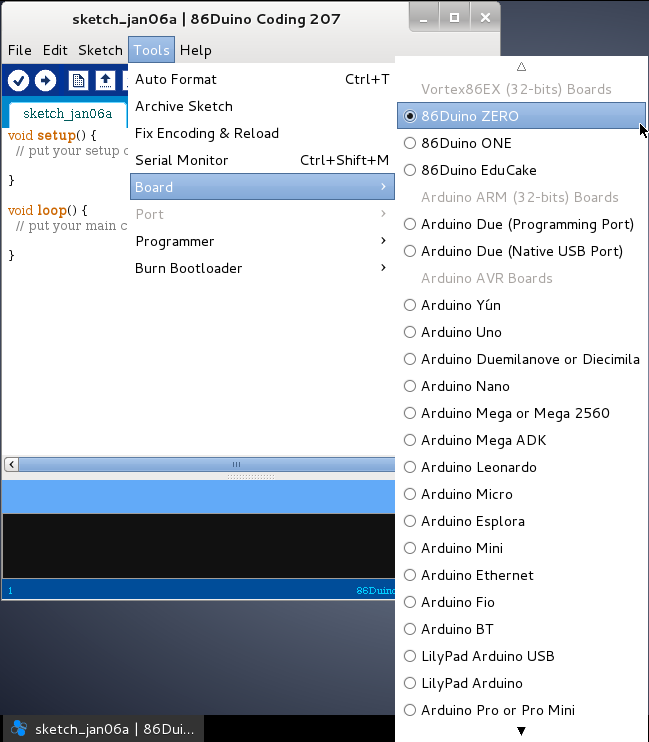
From the Tools menu, click on Tools > Board and select the 86Duino hardware you are using. For this application note, the 86Duino Zero is selected, as shown below.
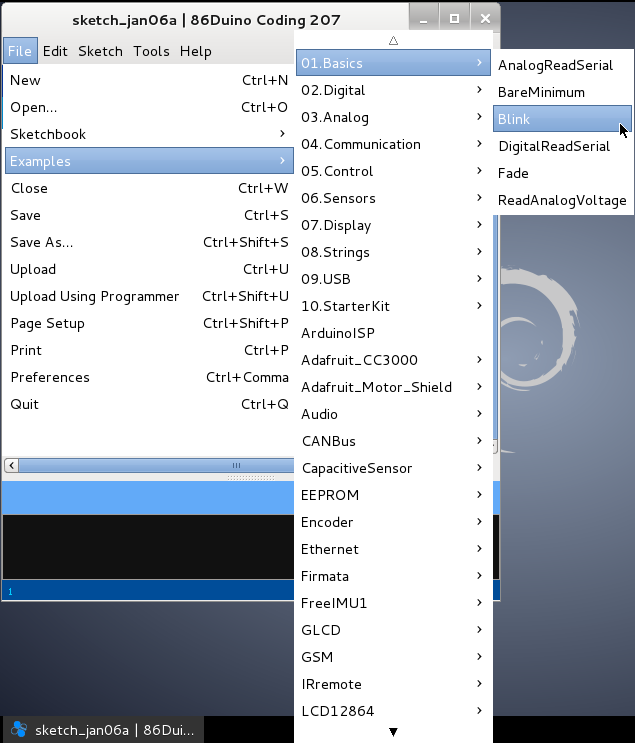
From the File menu, click on File > Examples > 01.Basics and select Blink.
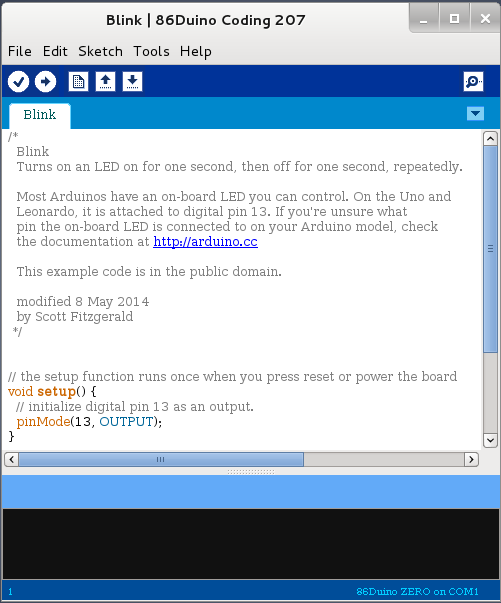
At this point, the 86Duino IDE display source codes for the Blink sketch, as shown below.
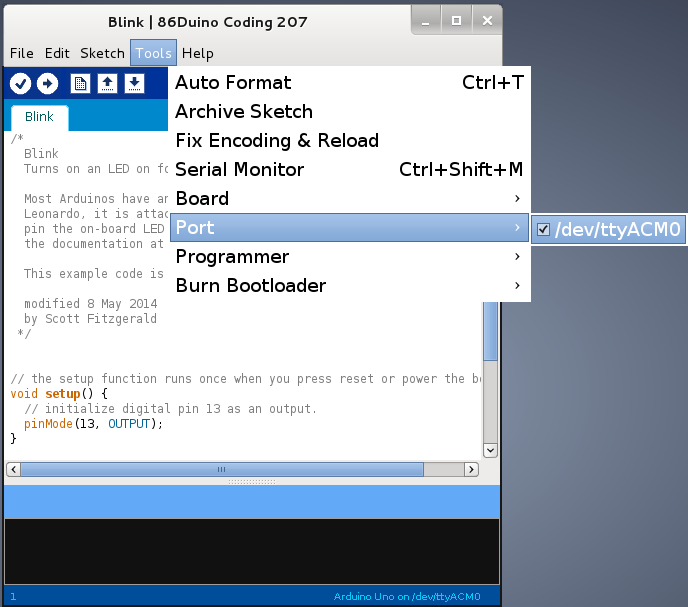
From the Tools menu, click on Tools > SerialPort and select the serial port link to the 86Duino board.
(“/dev/ttyACMn” is the serial port ID where the last letter “n” represent port number, such as /dev/ttyACM0 represent the 1st serial port and /dev/ttyACM1 represent the 2nd serial port.)
From the 86Duino IDE, click on the upload button, as shown below.
Upon a successful compilation, the 86Duino IDE will upload the compiled code to the attached 86Duino board. When the upload process is completed, the 86Duino IDE display the “Done uploading” message, as shown below.
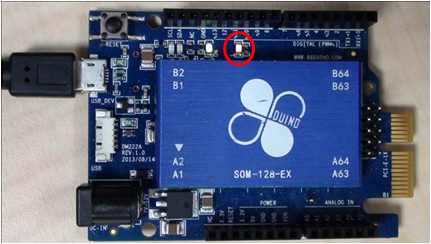
As the compiled Blink sketch is launched on the 86Duino board, the LED on the 86Duino board (as shown below) starts to blink in one second interval, which indicates the code executes as expected.
The text of the 86Duino reference is licensed under a Creative Commons Attribution-ShareAlike 3.0 License.

