Extend L86duntu Storage Space (Windows)
When we restore the L86duntu image to a microSD card with capacity over 8GB (eg. 16GB, 32GB, etc), the space occupied by the L86duntu image will be around 8GB, with the remainder being unused. We are going to show you how can you enable the SD card’s full capacity to be used in L86duntu.
Extend L86duntu Storage Space
Step 1
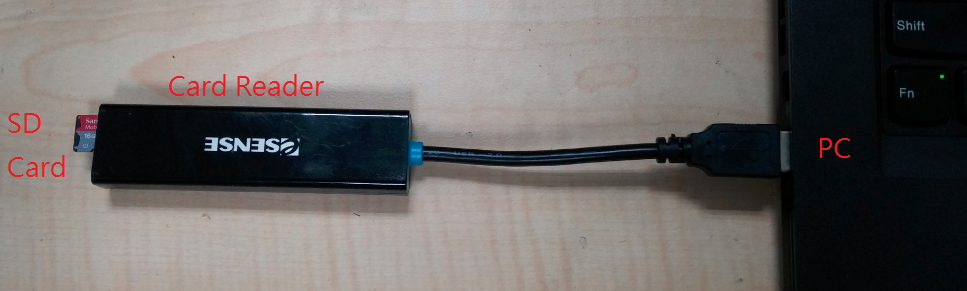
We are using a 16GB microSD card as an example. Install the L86duntu image into the storage device and connect drive to a PC.
Step 2
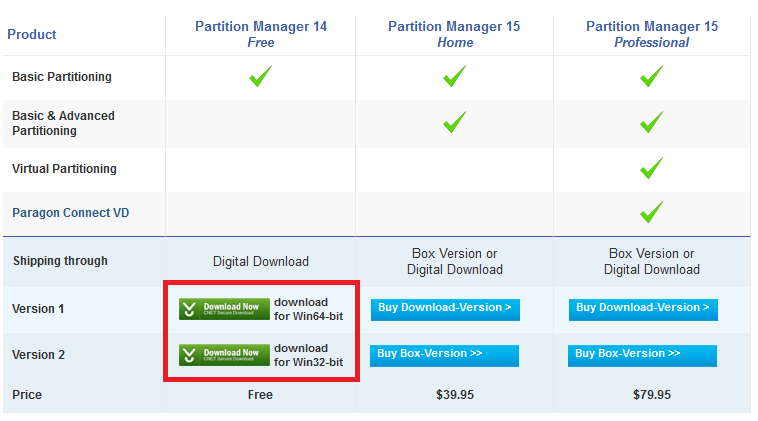
Install the Paragon Partition Manager into your PC after downloading the version for your Operating System:
Step 3
Run Paragon Partition Manager after installation. The application will detect all the storage drives in your PC automatically as seen below.
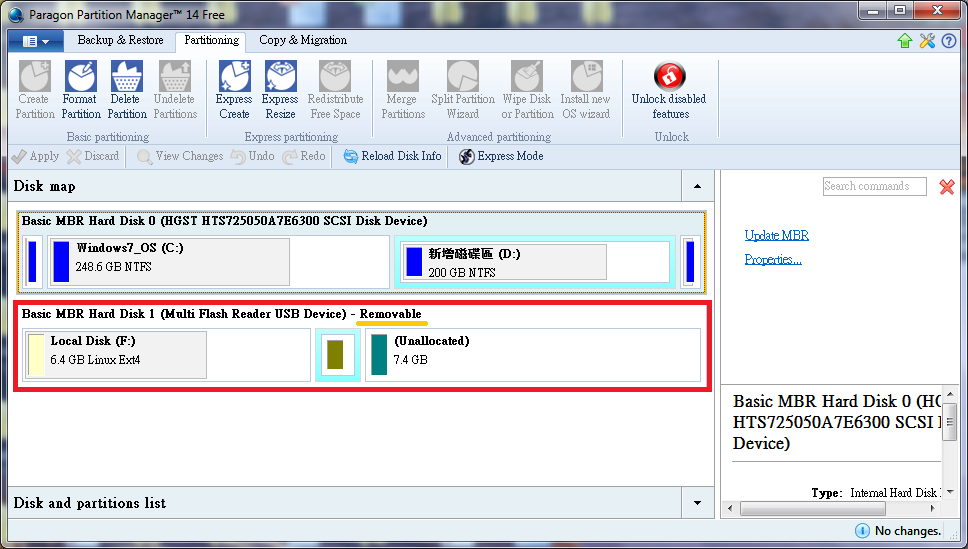
In the Paragon Partition Manager, you can see the partition for L86duntu marked as a Removable Drive.
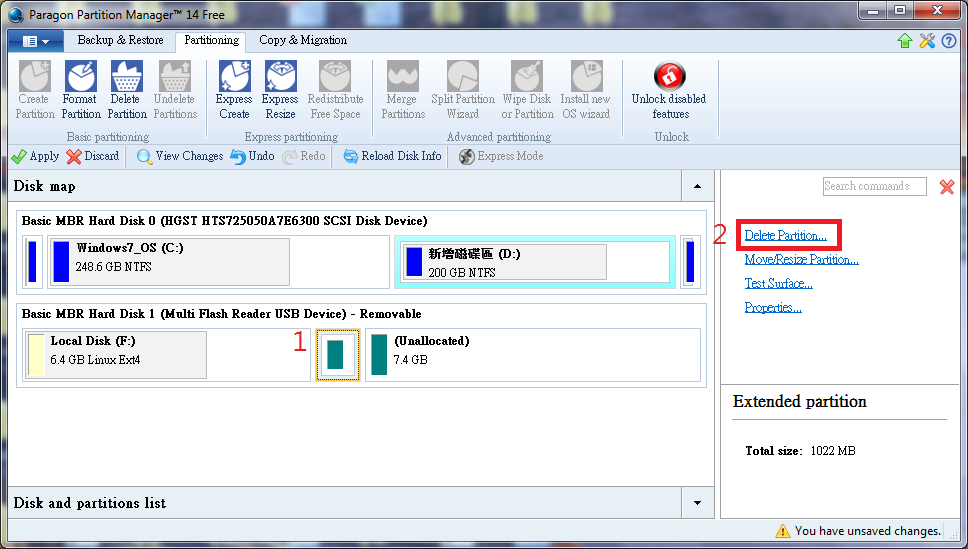
Step 4
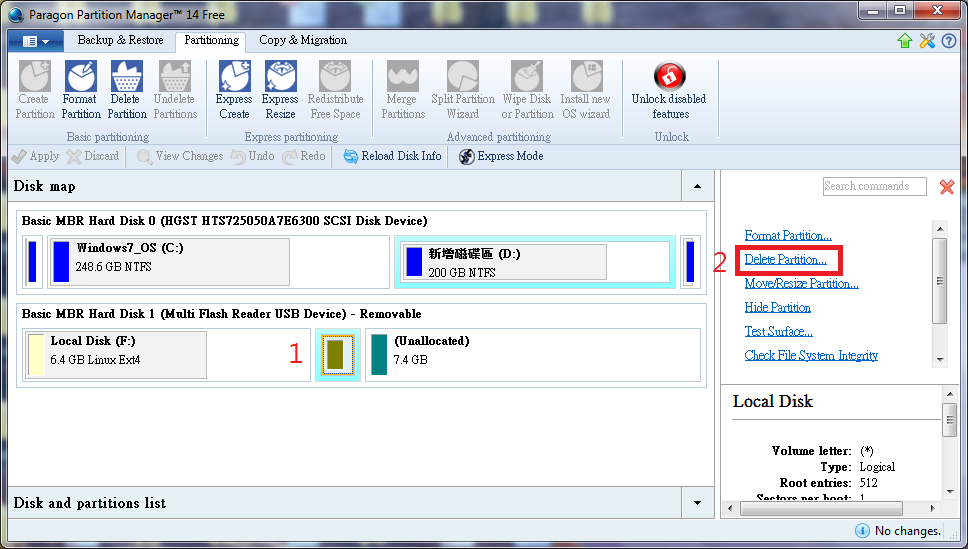
Click on brown area (linux-swap) and then click on “Delete Partition” at the right to delete this partition.
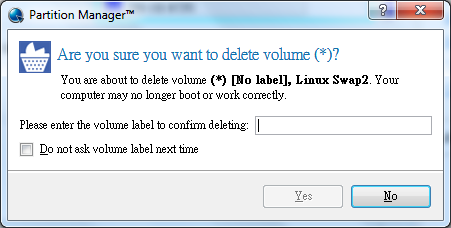
Step 5
The Paragon Partition Manager will show a confirmation window requesting you to enter the volume label to confirm deletion.
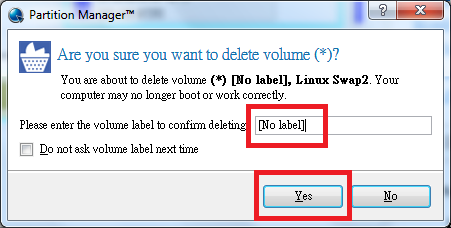
Step 6
Here we enter “[No label]” and then click on “Yes.”
Step 7
After choosing to delete the partition (Paragon has not yet applied the action of deleting the selected partition), head back to the main window and click on the partition that was created from the “deleted” partition and delete that as well.
Step 8
Click “Yes” when prompted to confirm.

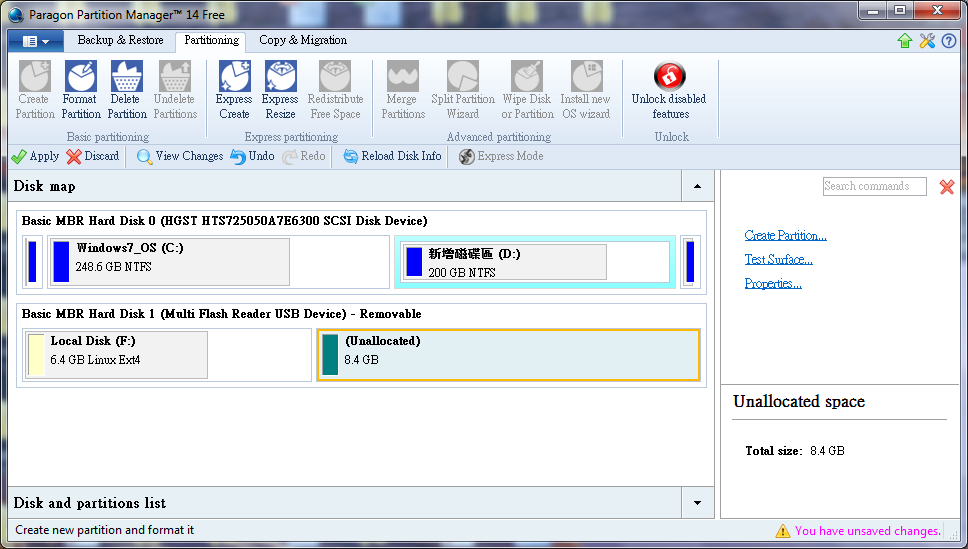
Step 9
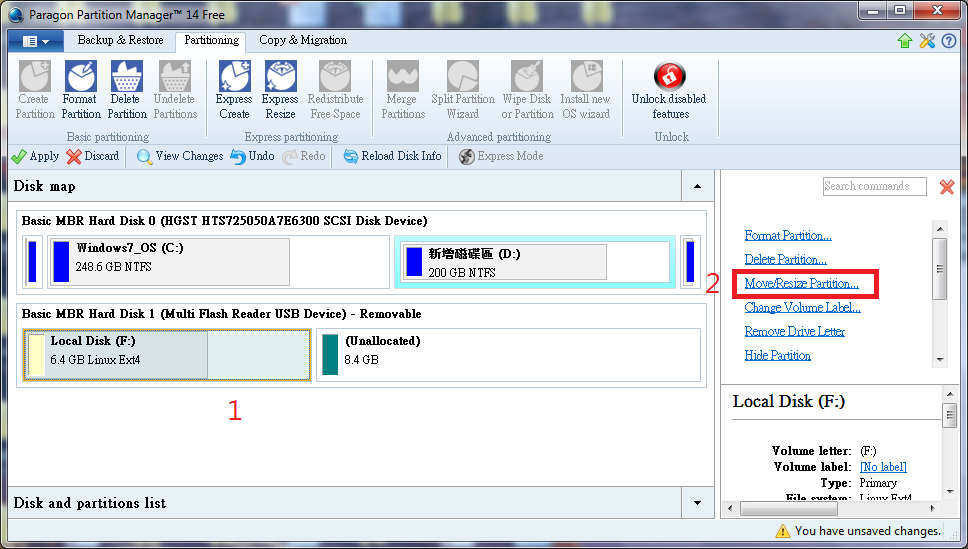
On the main window, the drive will show the L86duntu partition occupying 6.4GB with 8.4GB unallocated.
Step 10
Now we are ready to adjust the L86duntu partition size. Click on the partition with 6.4GB first and then click “Move/Resize Partition” on the right.
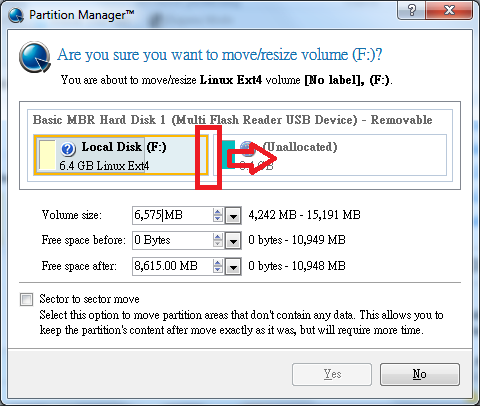
Step 11
A new window will be prompted. Use left click to drag the edge of the partition to the right to extend the drive. The storage device we are using has 16GB so we can extend the L86duntu space up to ~14GB (the actually space is less than 14GB), the remaining 2GB will become swap memory space (we don’t recommend swapping spaces less than 1GB). Click on “Yes” for next:

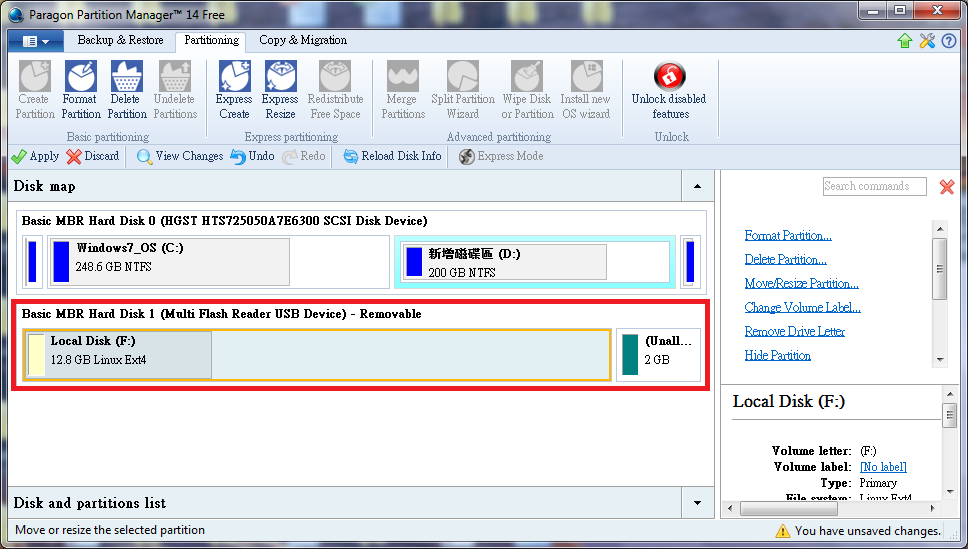
Step 12
In the main window the L86duntu will extend to 12.8GB and there will be unallocated storage space of 2GB.
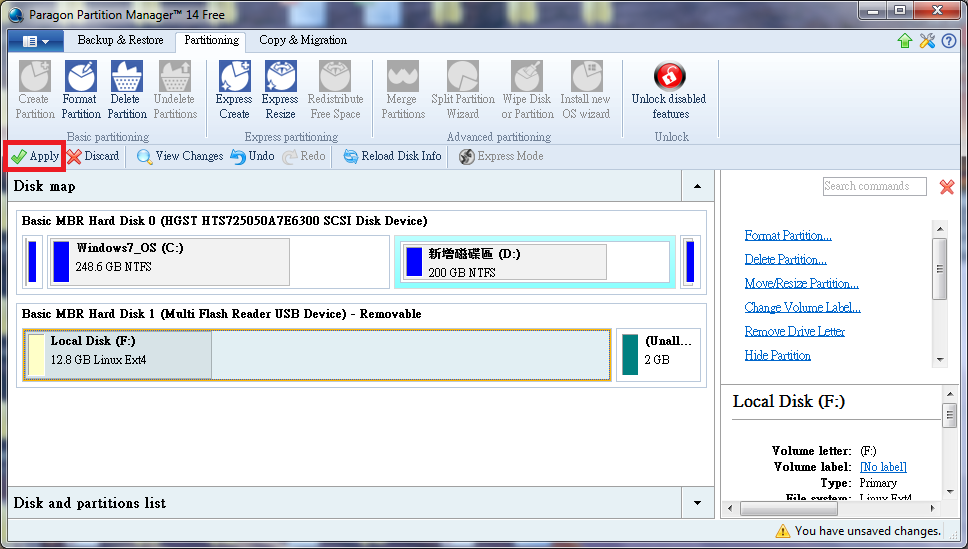
Step 13
To apply all the settings that were just made onto the microSD card, click “Apply” on top left corner:
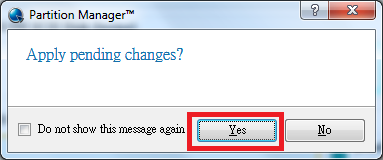
Step 14
Click “Yes” to apply.
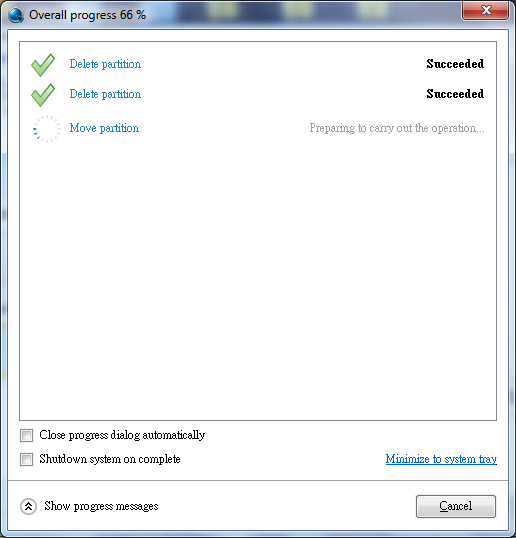
Step 15
Paragon Partition Manager will begin writing the settings to the microSD card.
Step 16
After a few minutes, the process will be completed.
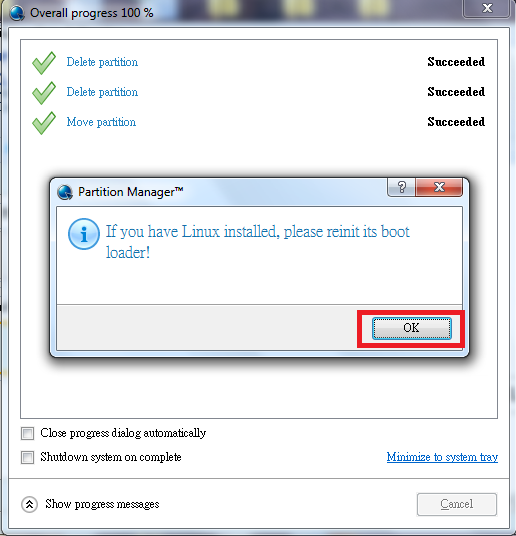
Please click on “OK” and close the Paragon Partition Manager.
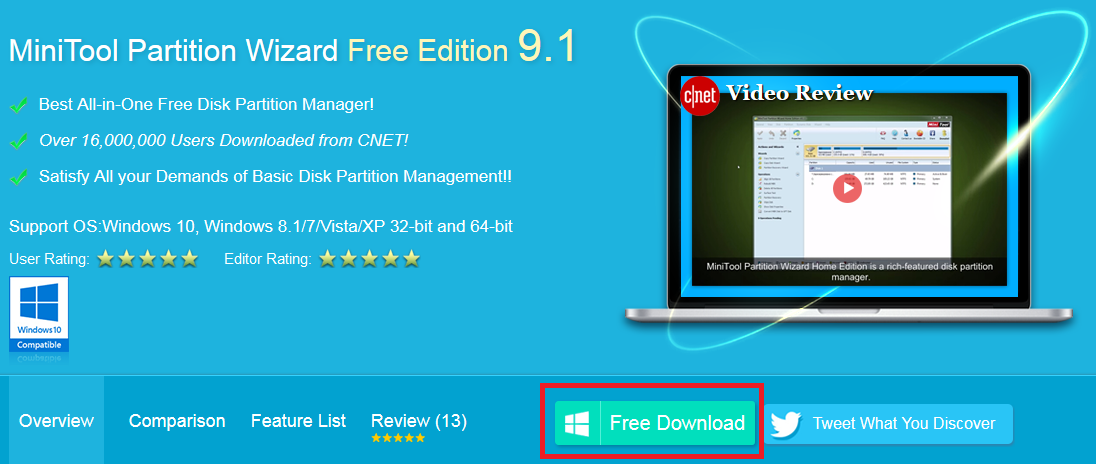
Step 17
In previous operation for Paragon Partition Manager, we left 2GB of unallocated space dedicated to Linux swap. However, Paragon Partition Manager does not support this function so we need to download another tool called Minitool. Since MiniTool does not support Ext4 partition, we cannot use it to extend L86duntu partition.
Step 18
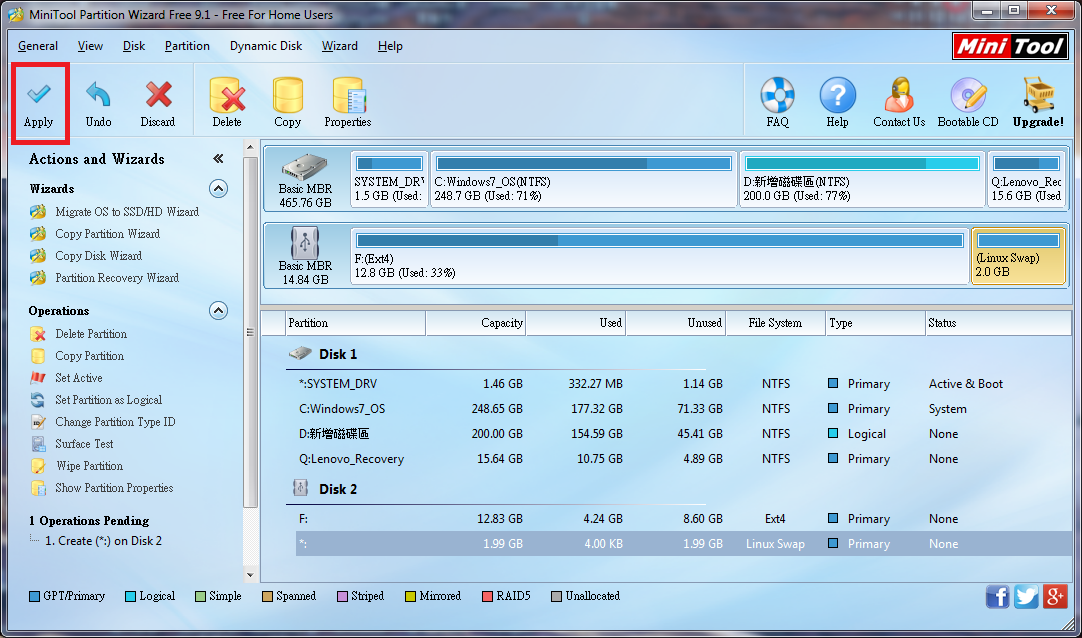
After installing MiniTool, run the tool to show drive status.
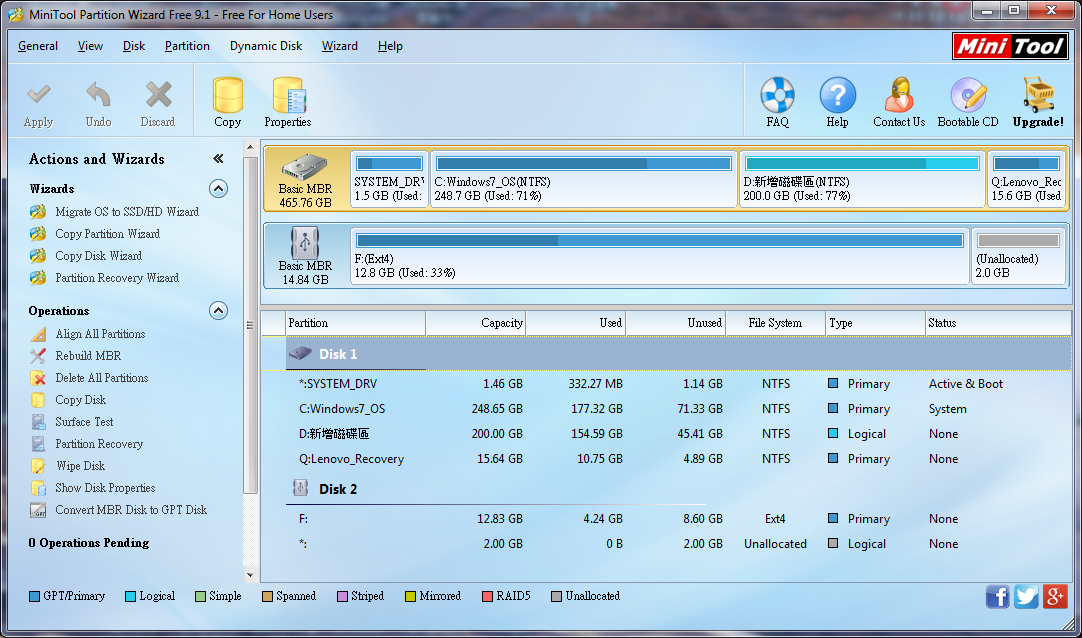
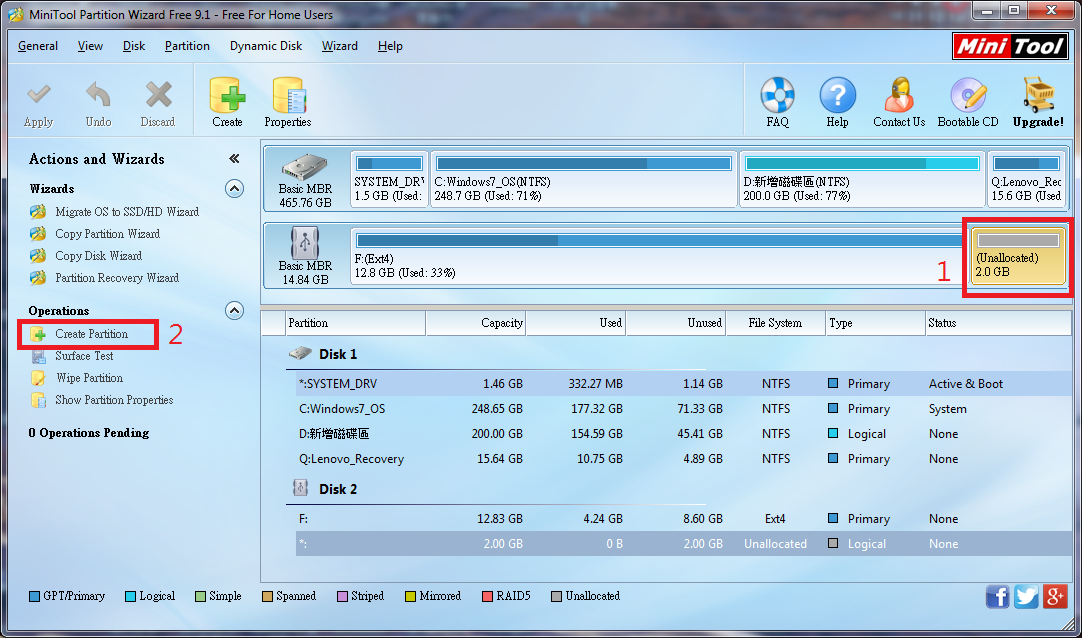
Step 19
Click on the Unallocated partition in L86duntu drive, and then click “Create Partition” on the left:
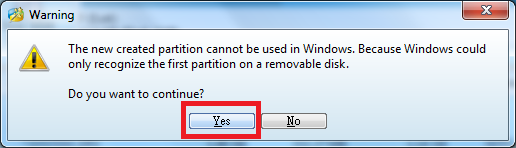
Step 20
Click “Yes” at the confirmation window:
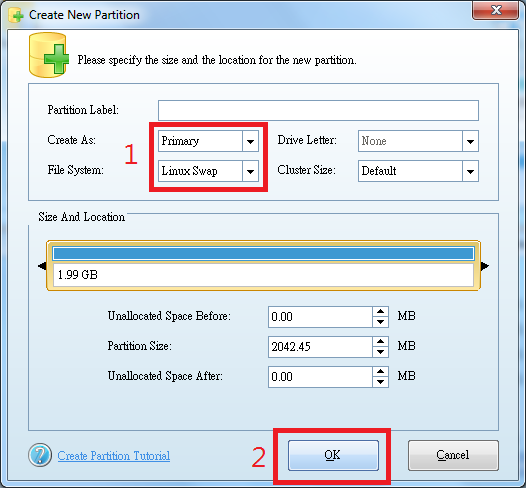
Step 21
Select “Primary” to create a partition to use as “Linux Swap”. Click “OK” to continue.
Step 22
On the main window, click “Apply” and MiniTool will write the previous settings to the storage device.
Step 23
Click “Yes” in confirmation window:
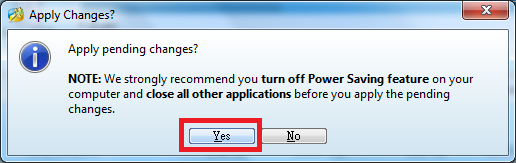
Step 24
The MiniTool will begin creating the Linux Swap partition.
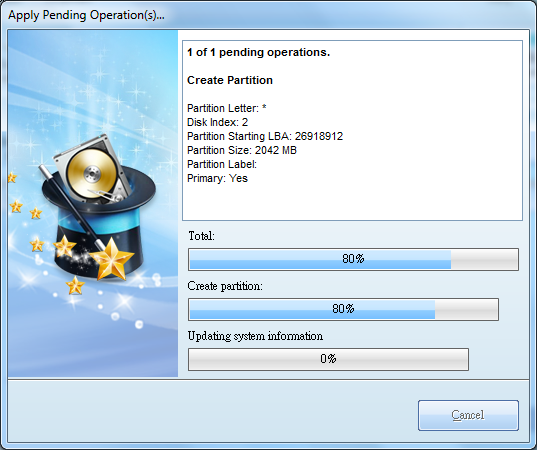
Step 25
Click on “OK” when finished.
Close MiniTool.
Step 26
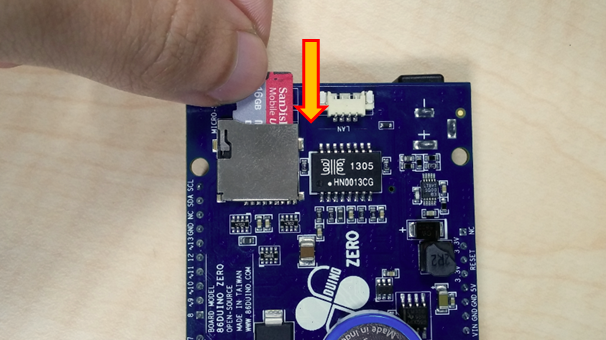
Please insert the L86duntu microSD card into 86Duino.
Step 27
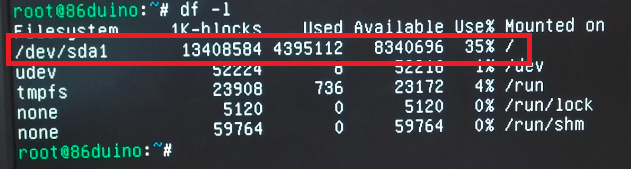
Boot up the system to get in L86duntu and type the following to check if the storage space extended.
fd -l
Setting up swap partition
Because we have changed the swap location in L86duntu, it will be different from its previous location in /etc/fstab. We will need to update /etc/fstab and make it automatically use the new swap partition when booting up the system. See following steps.
Step 1
If you type the following command, you can see the swap is not being used:
cat /proc/swaps

Step 2
Please type the following command to check the location of swap:
fdisk -l
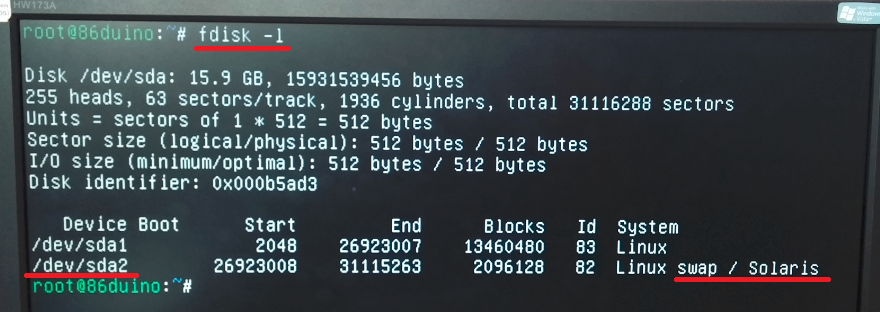
From the previous picture, you can see that the location for the swap is /dev/sda2.
Step 3
Please type the following command to open /etc/fstab:
vi /etc/fstab
![]()
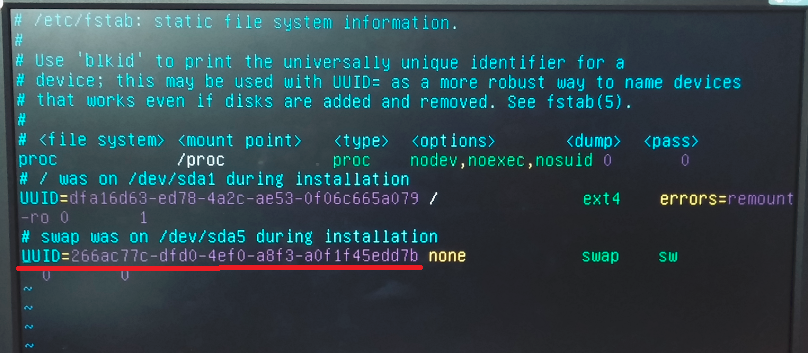
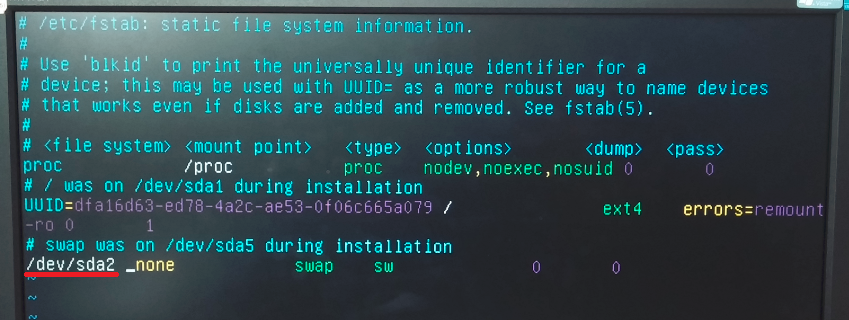
Step 4
After opening /etc/fstab, find the last row and try to replace the word between “UUID” and “none” to /dev/sda2, like the following picture:
Step 5
Proceed to save the file and reboot the system with the following command:
reboot
![]()
Step 6
After rebooting the system, type the following commands to verify that the swap has been successfully changed been used for the system.
cat /proc/swaps

The text of the 86Duino reference is licensed under a Creative Commons Attribution-ShareAlike 3.0 License.