Link 86Duino to 86Scratch – USB Serial
Load lesson plan
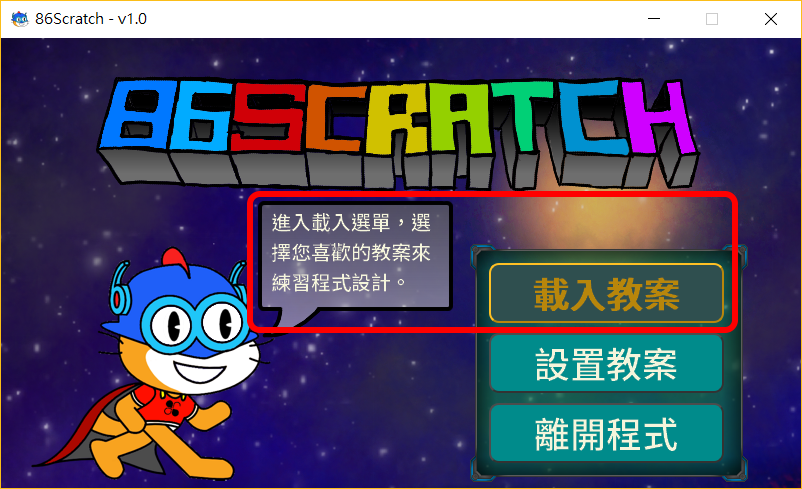
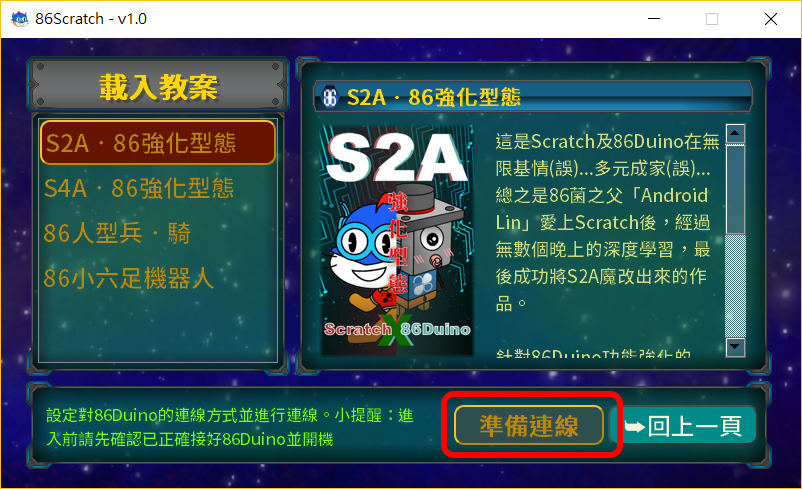
After opening 86Scratch, please click "Load lesson plan" to enter the lesson plan selection screen:
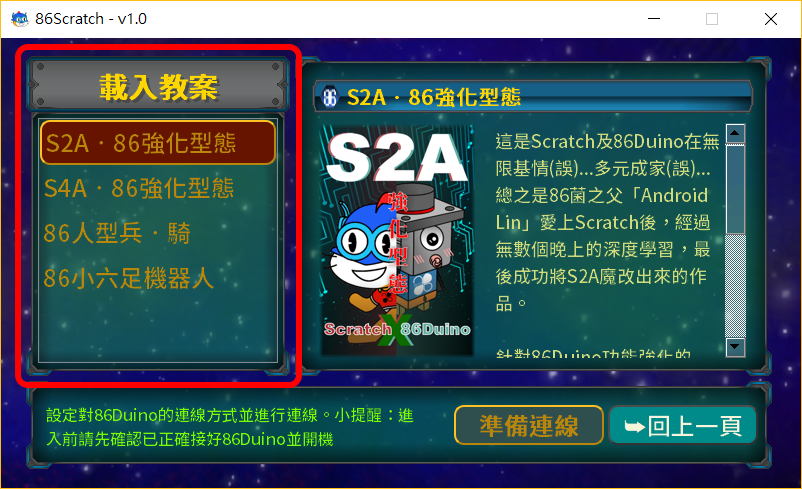
In the lesson plan selection screen, you can see that there are 4 preset lesson plans to choose from. When you move the mouse to a different lesson plan, the description of the lesson plan will appear. Please select "S2A. 86 Enhanced Form " Lesson Plan:
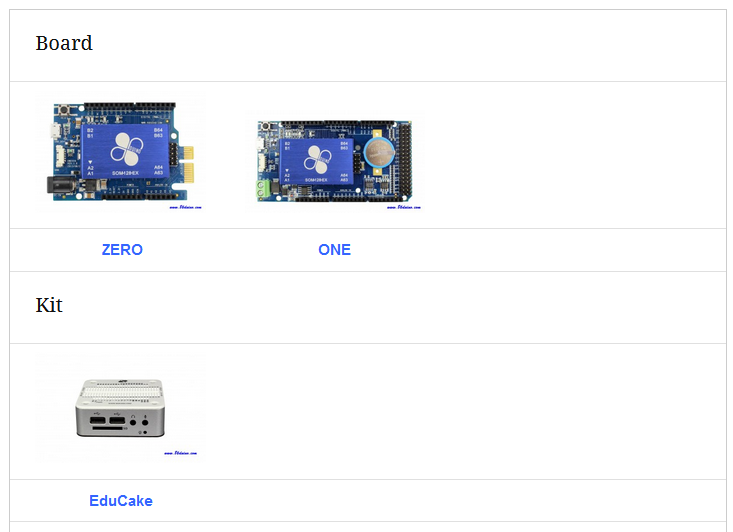
S2A. The 86 enhanced model corresponds to the commonly available 86Duino products 86Duino ZERO, 86Duino ONE and 86Duino EduCake.
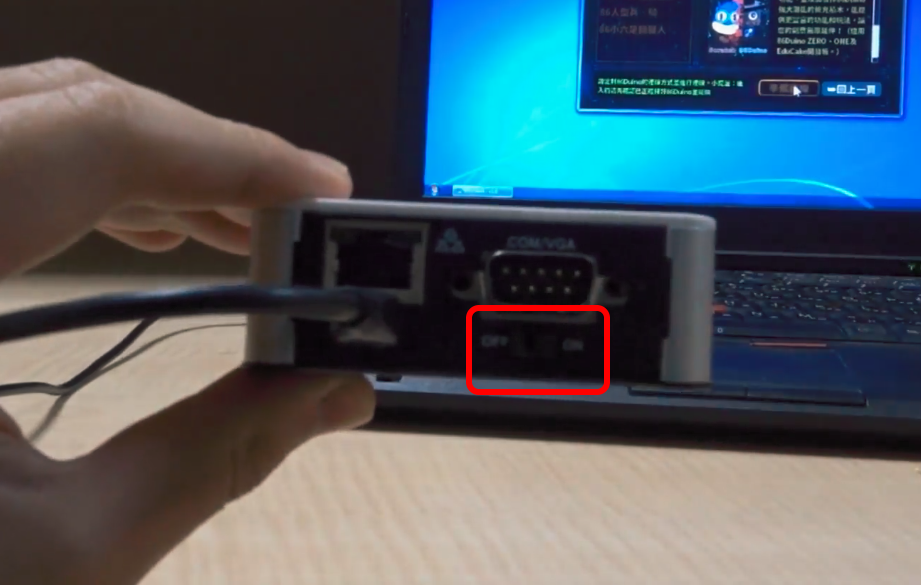
The following USB connection tutorial will use 86Duino EduCake as the connection object. Before USB connection, please use the USB transmission cable to connect the operating system platform of 86Scratch to EduCake, and turn on the power switch of EduCake (marked in the red box in the figure below):
Prepare for connection
After selecting the lesson plan to be loaded, you can click "Prepare for connection" to enter the next step:
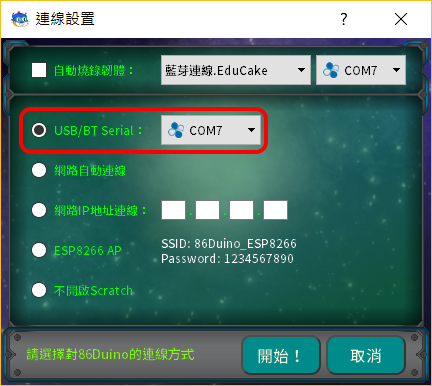
After clicking Prepare for connection, a window for setting the connection method will pop up. Please click "USB/BT Serial" and make sure that the COMPort in this option has the 86Duino logo ![]() , which is the COMPort of 86Duino on your computer.
, which is the COMPort of 86Duino on your computer.
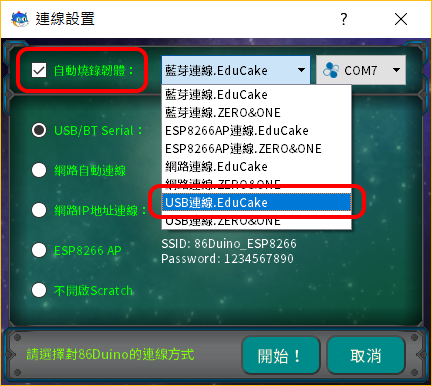
If the last time you connected to 86Duino was not through USB connection or it is the first time to connect to 86Duino, please also check "Automatically burn firmware" and select the firmware corresponding to the USB connection version of 86Duino EduCake:
After the settings are completed, click "Start!" to start the USB connection EduCake, if you have checked the option to automatically burn the firmware, the firmware will be burned to EduCake before the USB connection:
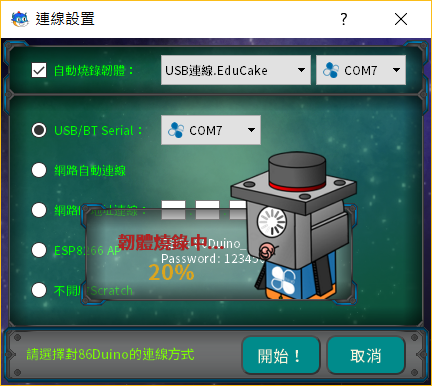 *Note: If you choose the same lesson plan next time, you don't need to burn the firmware (uncheck it) and can connect directly.
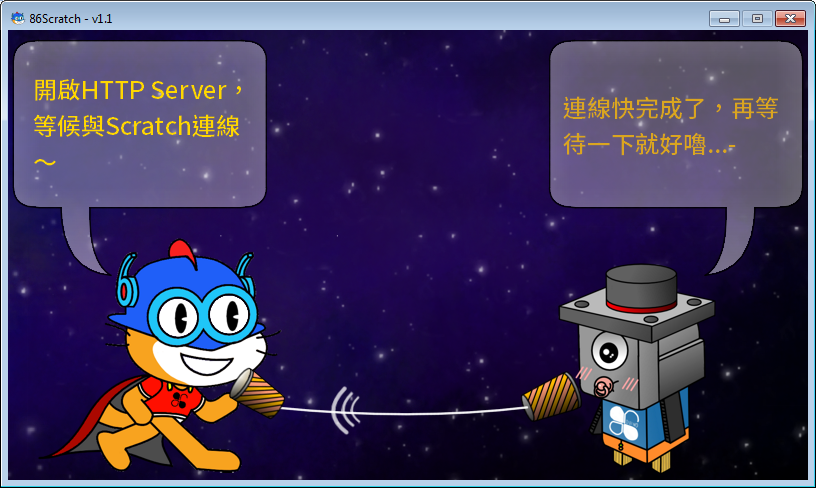
After burning the firmware, 86Scratch will start trying to connect to EduCake:
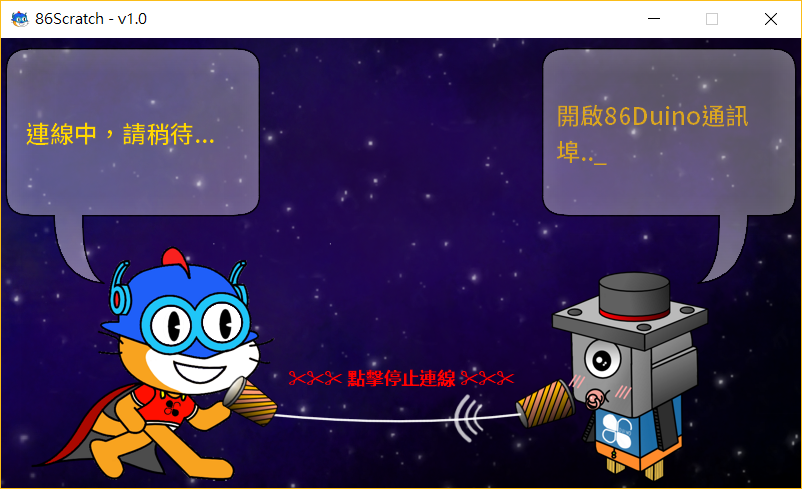
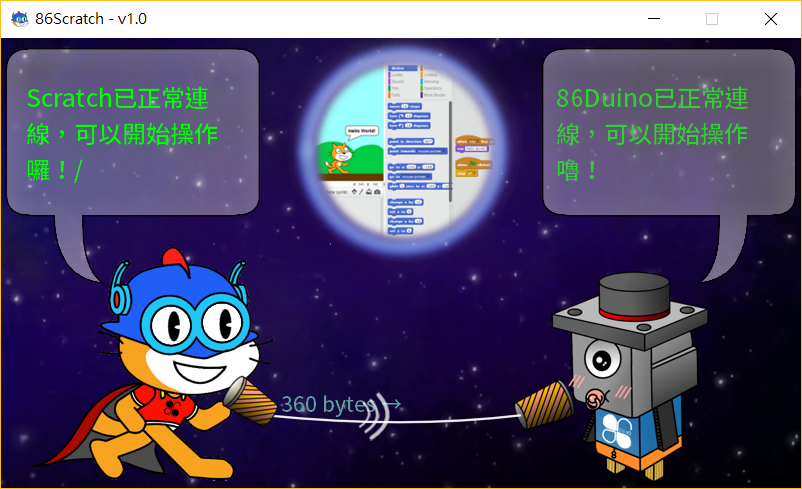
During the process, 86Scratch will try to connect to 86Duino. You can see that the 86Scratch cat on the left and the 86 fungus on the right are talking to each other through a microphone. When you see the following dialogue screen, it means that the connection is almost successful:
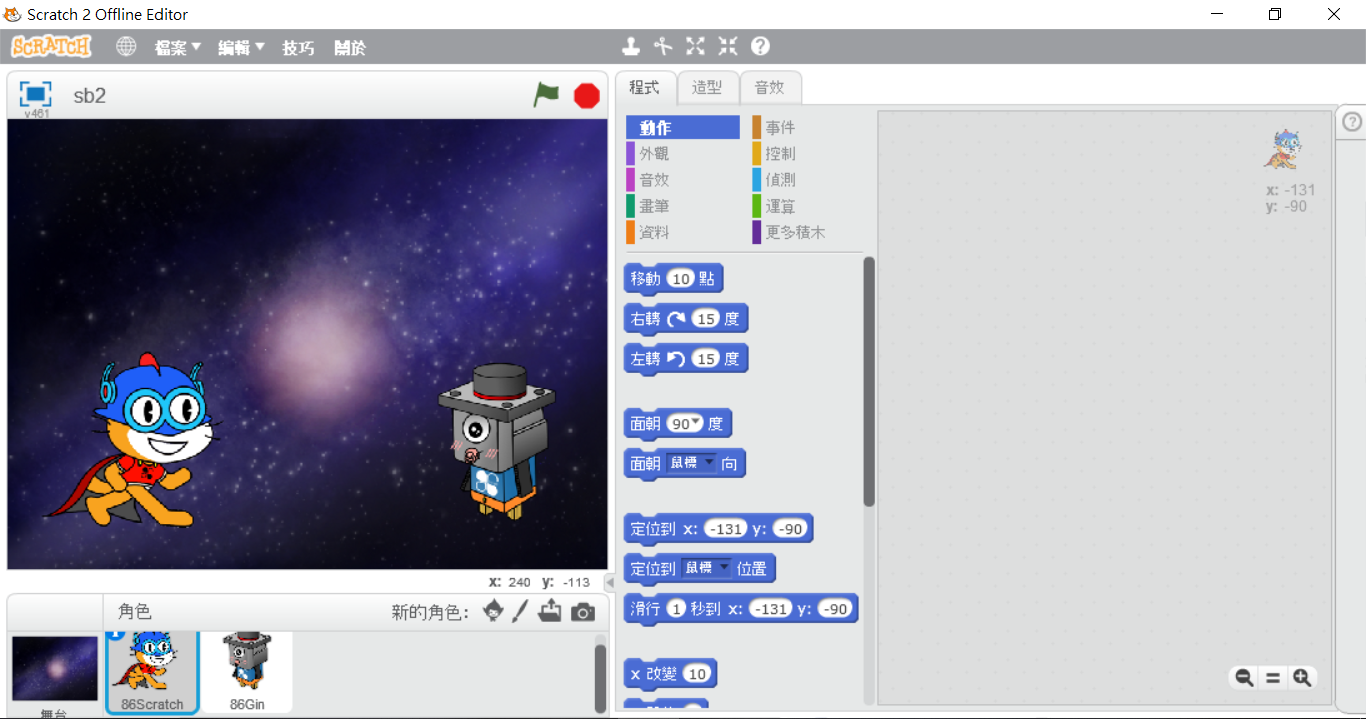
At this time, 86Scratch will automatically open Scratch 2.0 on the computer for us (and will also load the S2A enhanced form 86Duino building block):
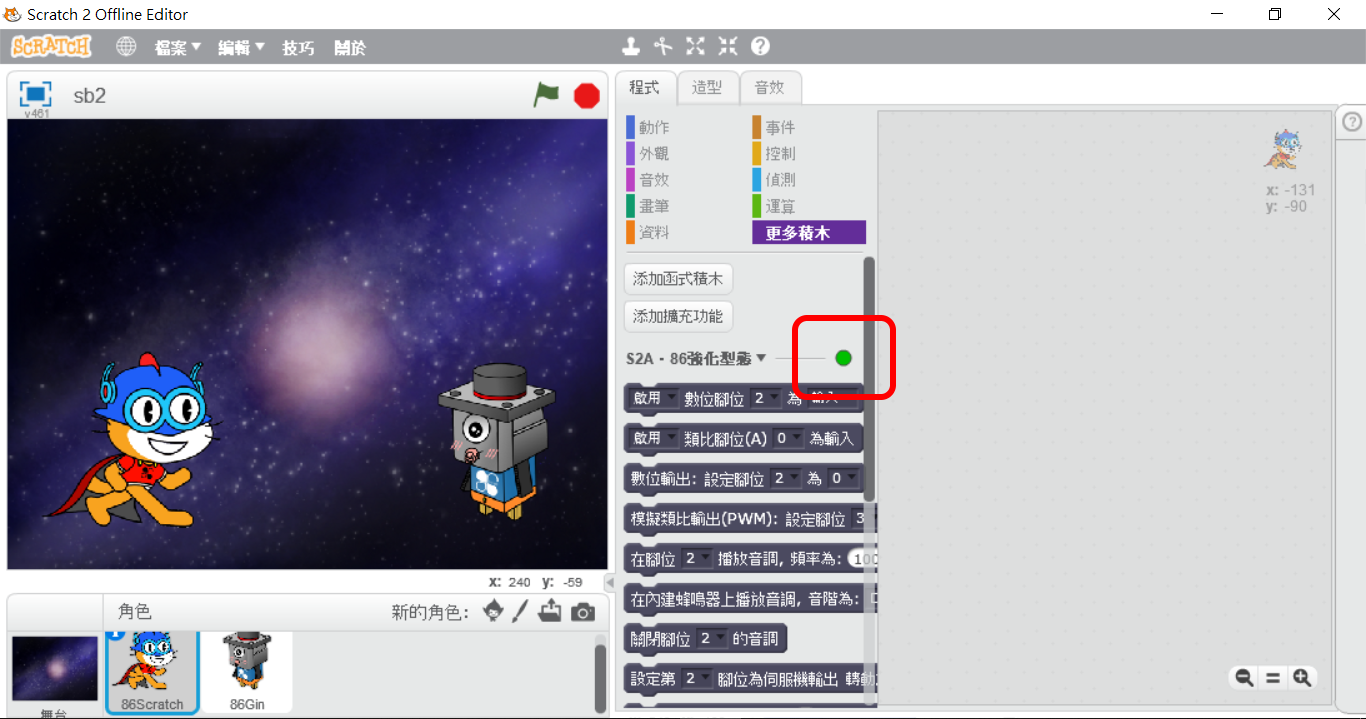
Click "More Building Blocks" to find the "S2A‧86 Enhanced Form" building blocks. There is a light next to the building blocks. In normal state, it is red. When 86Scratch successfully connects the building blocks and 86Duino, the light will change from red to green:
When the light turns green, switch back to the 86Scratch window and you will see the following screen:
Now the connection is successful, you can start programming!!
Start programming with Scratch 2.0
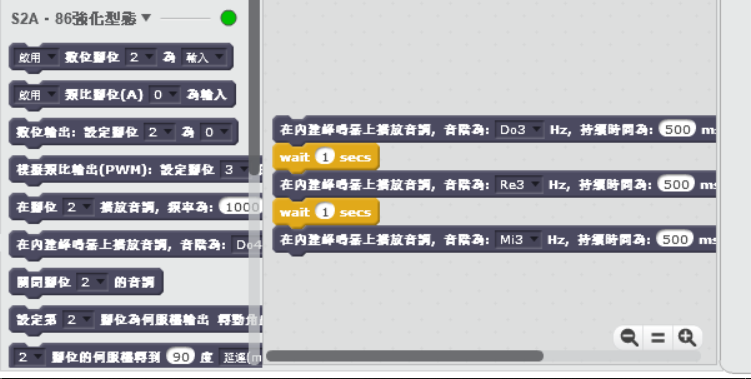
Now we can use Scratch 2.0 is now available for writing 86Duino EduCake programs!! Try playing DoReMi with 86Duino bricks!!
The text of the 86Duino reference material is licensed under a Creative Commons Attribution-Share Alike 3.0 License. The code examples in the reference material have been released into the public domain.