Link 86Duino to 86Scratch – Local Area Network
Local Area Network LAN Interface
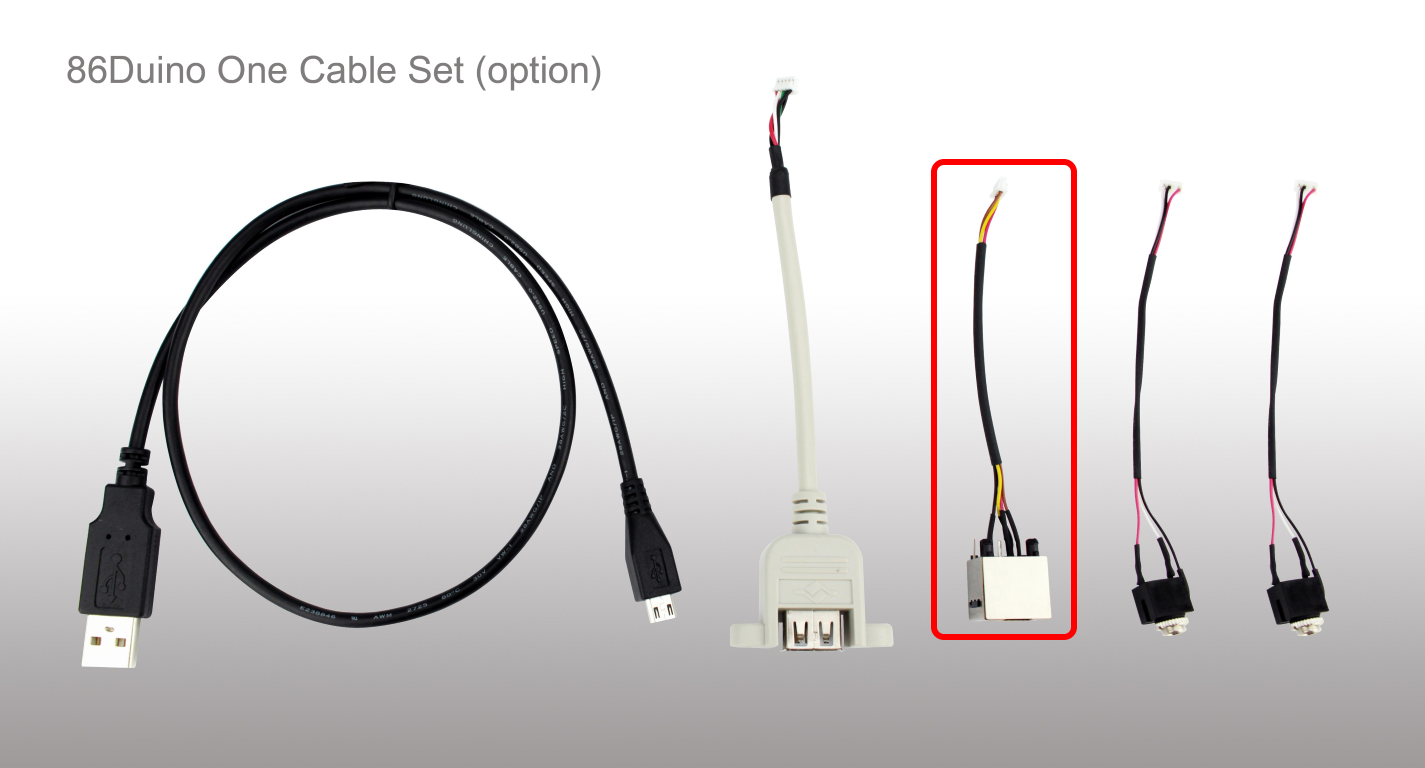
Among the three 86Duino development boards, except for the 86Duino EduCake which has its own LAN interface, the 86Duino ZERO & ONE must use the 86Duino-specific LAN Cable to expand the LAN interface, as shown in the red box below:
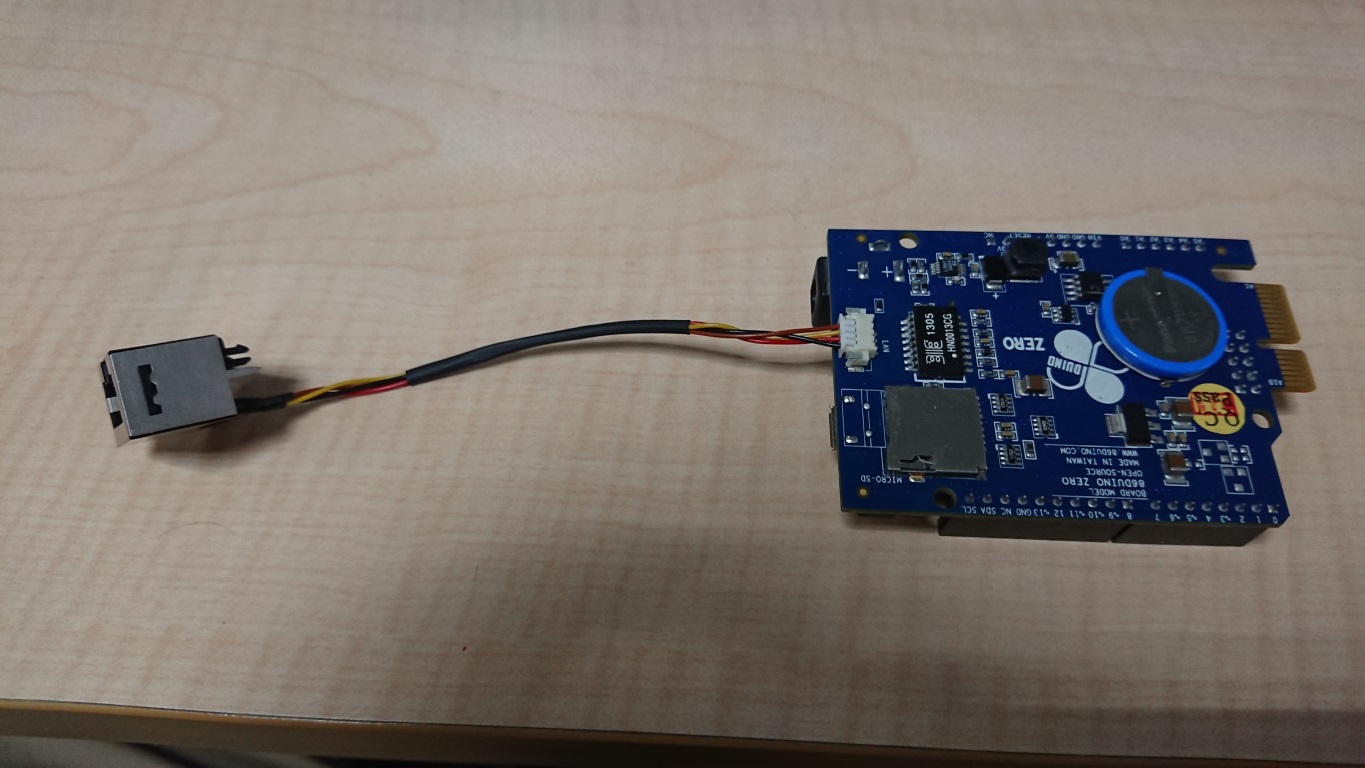
 86Duino ZERO connected to the LAN Cable to expand the LAN interface:
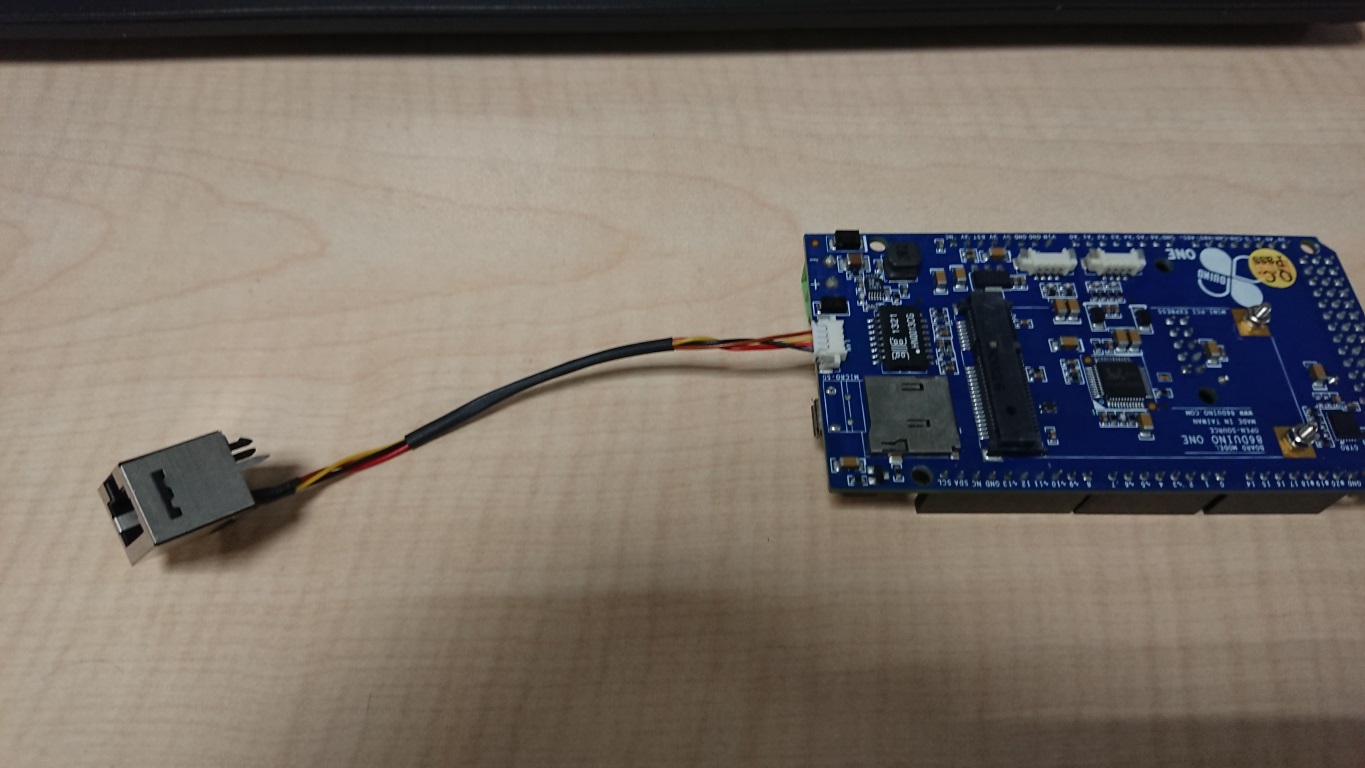
 86Duino ONE connected to LAN Cable to expand LAN interface:
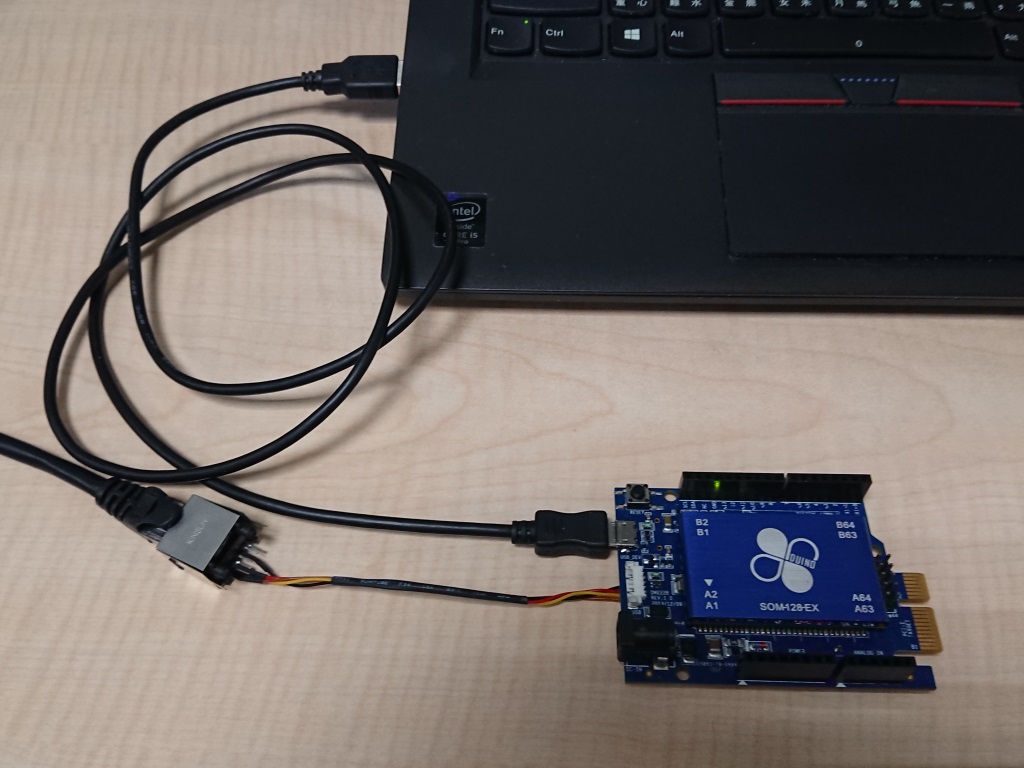
 After connecting 86Duino and your computer to the IP sharer via an Ethernet cable, 86Duino and 86Scratch are in the same LAN.
Connect 86Duino to the LAN
First, connect 86Duino to your computer with a USB cable:
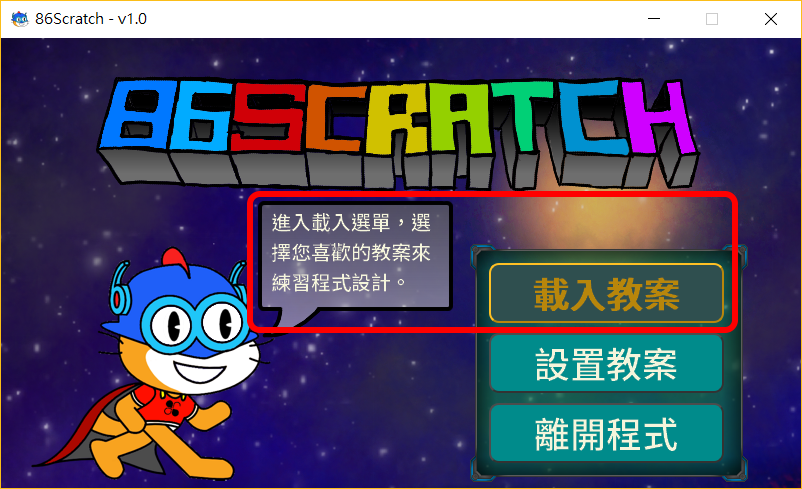
 Open 86Scratch on your computer and click "Load Lesson Plan":
 In the lesson plan selection screen, you can see that there are 4 preset lesson plans. When you move the mouse over different lesson plans, the instructions for the lesson plan will appear. Please select "S4A. 86 Enhanced Mode" teaching plan to connect 86Duino ZERO:
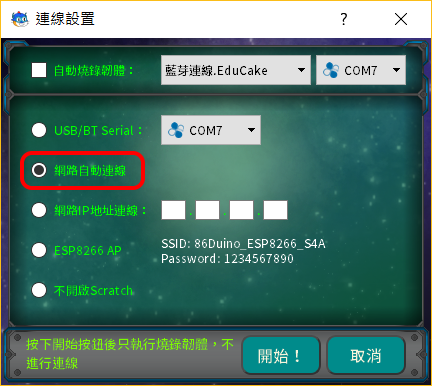
 After the connection setting window appears, please click "Network Auto Connection" to select LAN connection:
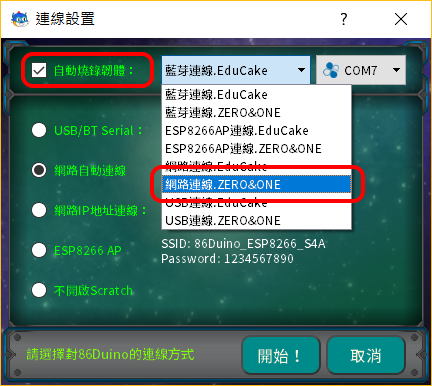
If the last time you connected 86Duino was not using LAN connection or it is the first time to connect 86Duino, please check "Automatically burn firmware" and select the firmware for 86Duino ZERO network connection. After the settings are completed, please click "Start! " :
First, 86Scratch will burn the 86Duino ZERO firmware into the LAN connection version through the USB transmission line:

*Note: If you still choose the same lesson plan next time, you don’t need to burn the firmware (uncheck it) and can connect directly.
After burning the firmware, 86Scratch will start searching for 86Duino in the local area network and start connecting:
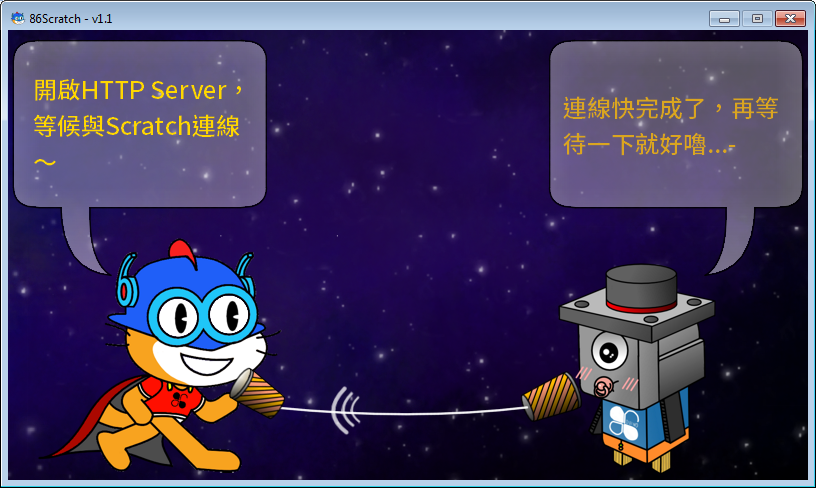
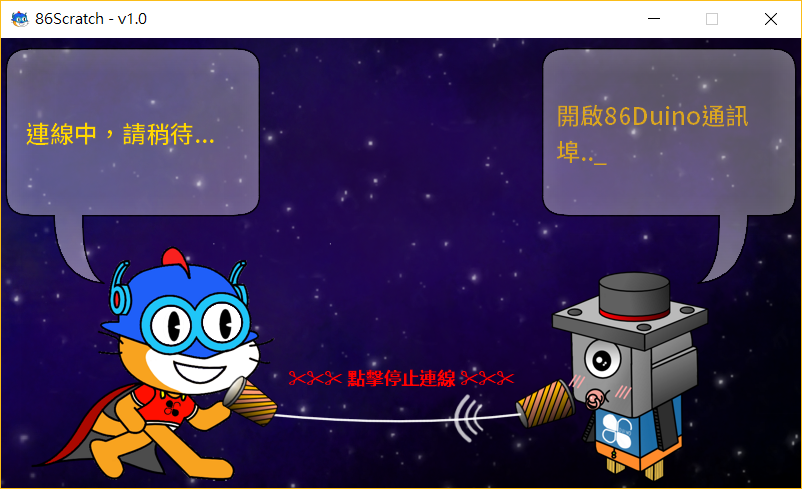 During the process, 86Scratch will try to connect with 86Duino. You can see that the 86Scratch cat on the left and the 86 bacteria on the right are talking with a microphone. When you see the following dialogue screen, it means that the 86Duino in the domain has been found and the connection is almost successful:
 At this time, 86Scratch It will automatically open Scratch 2.0 on the computer (and will also load the S4A enhanced 86Duino building blocks at the same time):
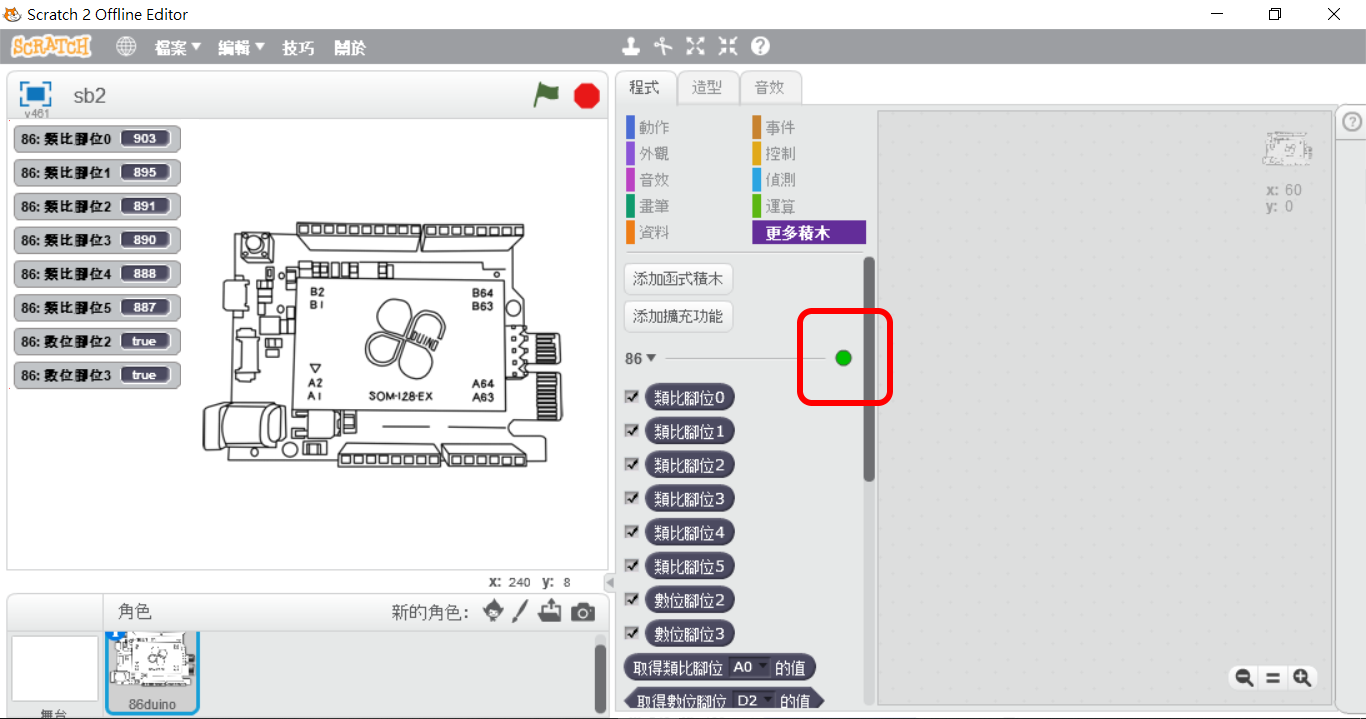
 Click "More Building Blocks" to find the "S4A‧86 Enhanced Form" building blocks. There is a light next to the building blocks. Under normal conditions, it is red. When 86Scratch successfully connects the building blocks and 86Duino, the light will change from red to green:
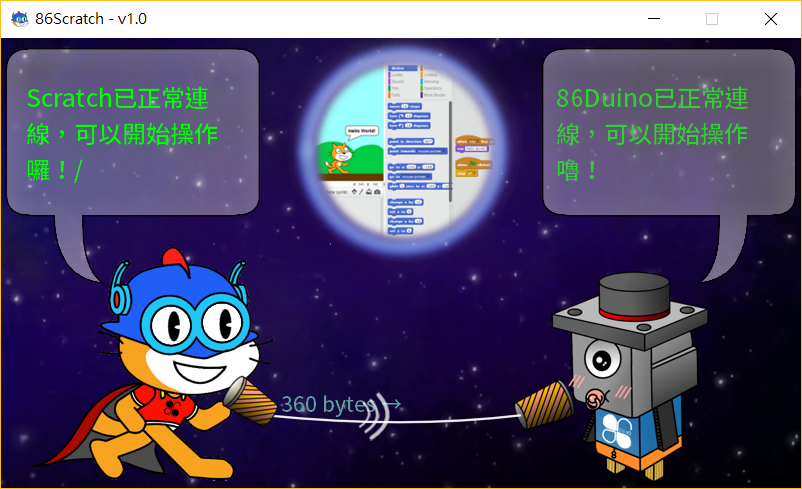
 When the light turns green, switch back to 86Scratch The following screen will be displayed in the window:
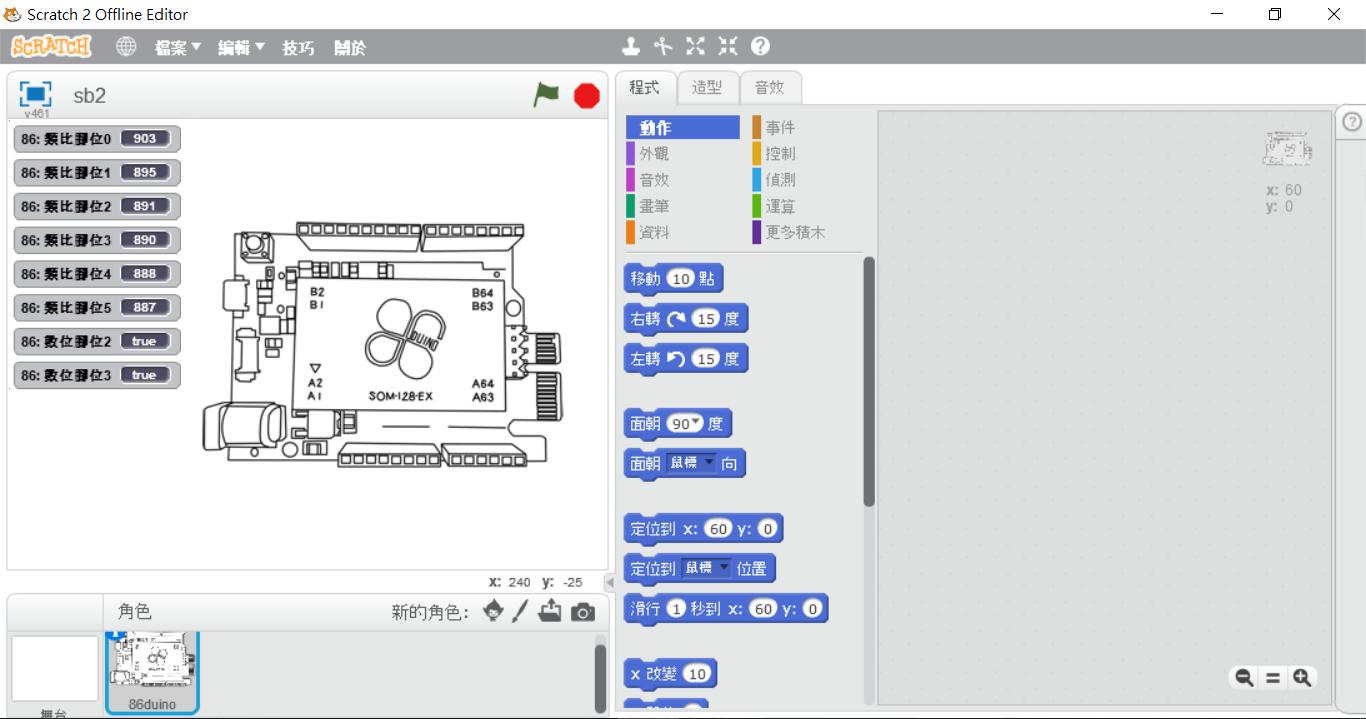
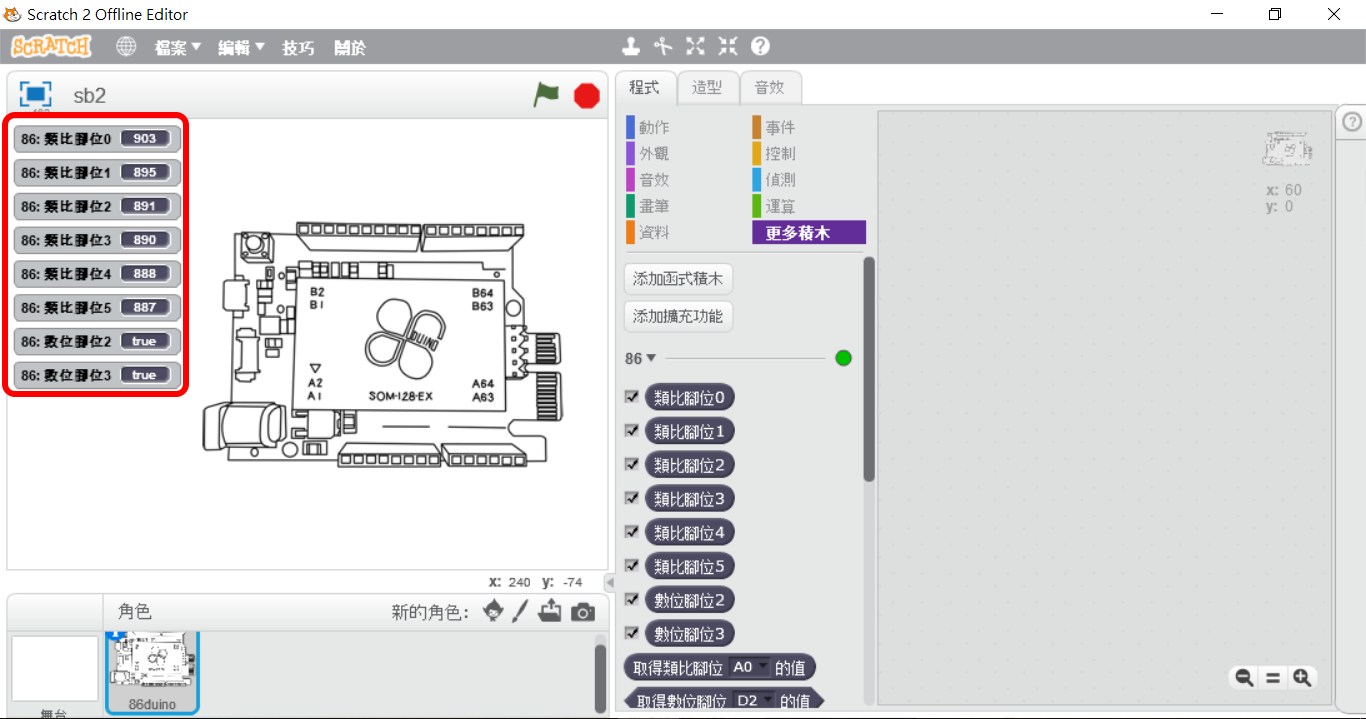
 Now the connection is successful, you will see that Scratch 2.0 is constantly reading the analog input pins 0~5 and digital input pins 2 and 3 of 86Duino ZERO. When analog pins 0~5 are not connected, the read values will keep changing. Now we can start using S4A building blocks to write 86Duino programs!!
Extra Chapter: Connect using the network IP address
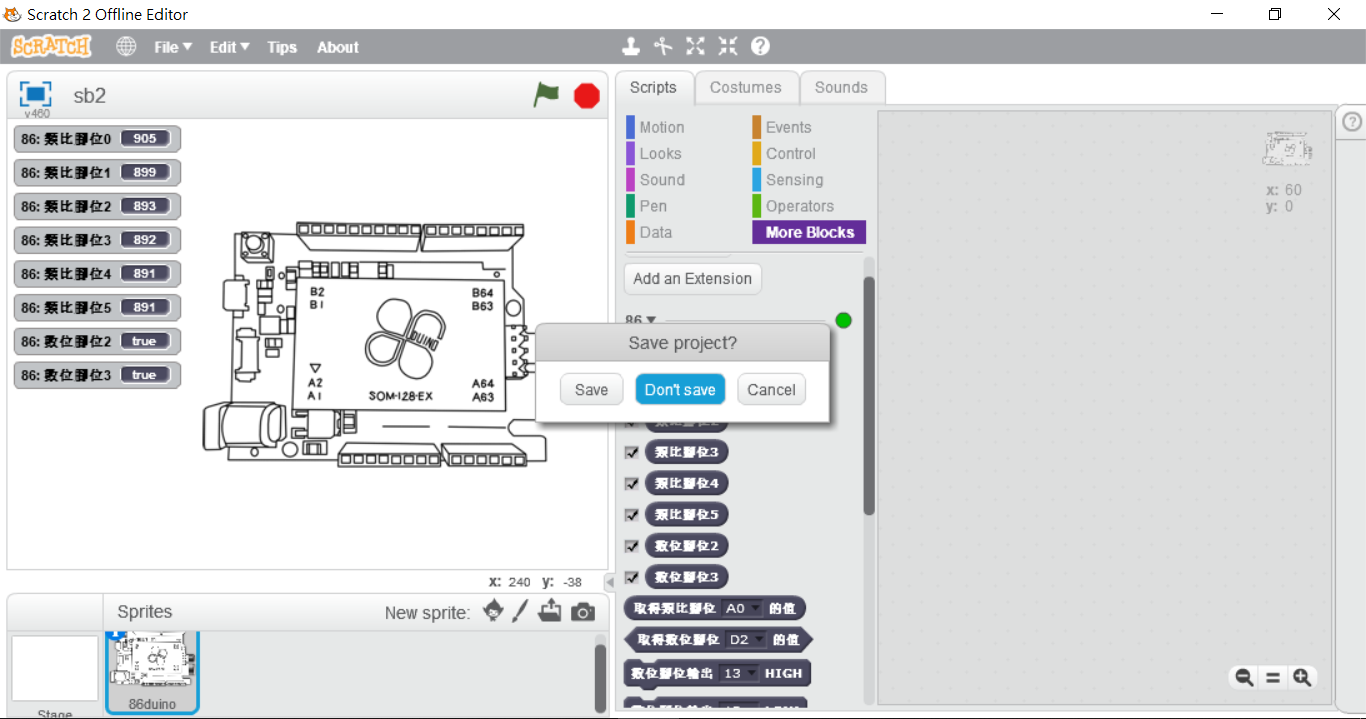
Close the Scratch 2.0 window:
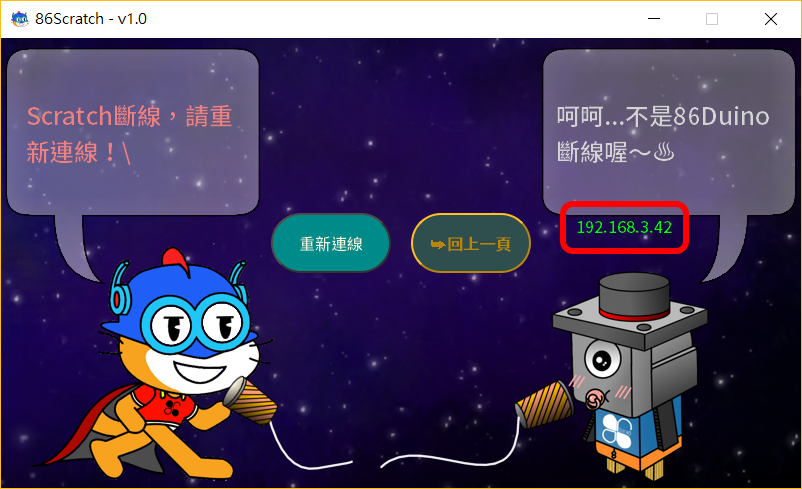
 After closing the Scratch 2.0 window and returning to the 86Scratch window, you can see the IP address of the 86Duino just connected in the local network (in this case, 192.168.3.42). Note this IP address and close 86Scratch:
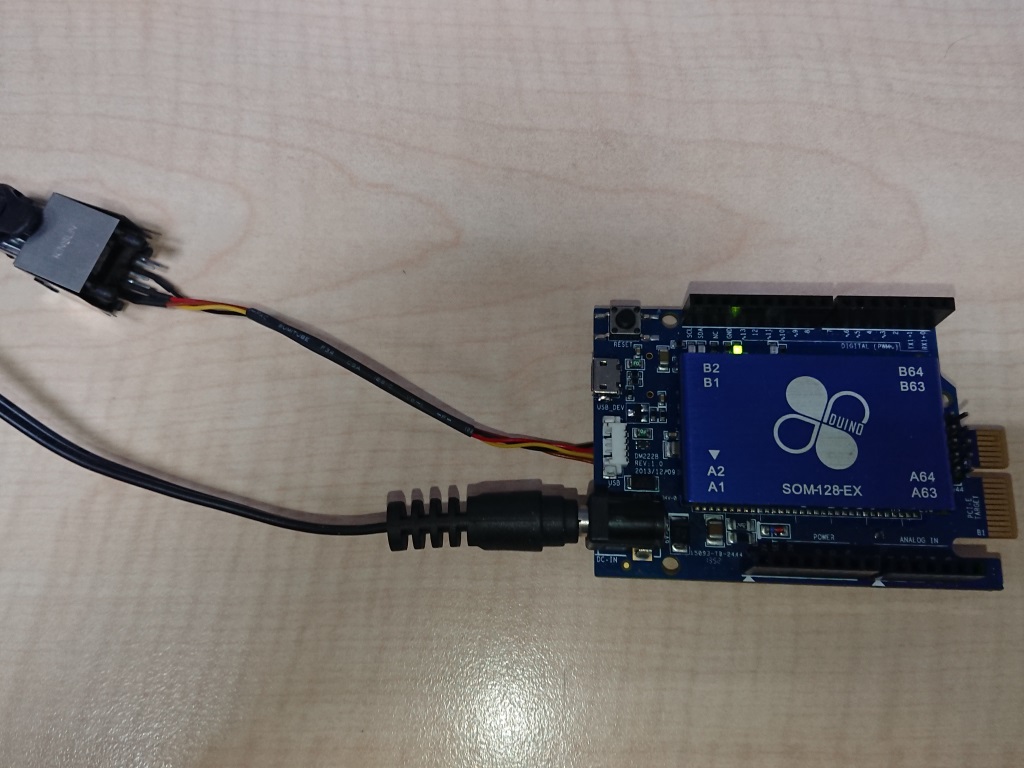
 Reopen 86Scratch After returning to the loading lesson plan screen, connect another 86Duino ZERO with the LAN version firmware to an external power source and connect it to the IP sharer with an Ethernet cable. Now there are two 86Duinos in the local area network:
 Select "S4A. 86 Enhanced Type " Teaching Plan to connect 86Duino ZERO:
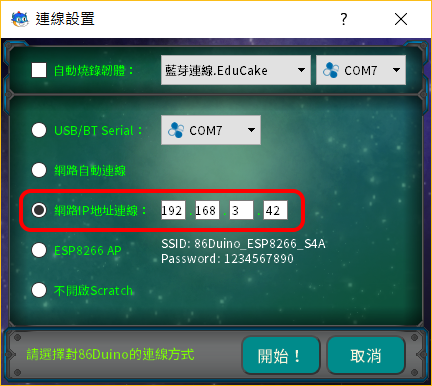
After the connection setting window appears, if you select "Auto-connect to the network" as before, it will randomly connect to any 86Duino. At this time, we need to specify the connection to the first 86Duino in the local area network. You must click "Network IP address connection" and enter the IP address you just wrote down (in this case, 192.168.3.42), so that you can connect to the specified 86Duino:
86Scratch Home
The text of the 86Duino reference material is licensed under a Creative Commons Attribution-Share Alike 3.0 License. The code examples in the reference material have been released into the public domain.