86Duino SysImage Installation (Windows)
86Duino SysImage is a utility which enable you to place 86Duino system firmware onto a MicroSD storage card, include the following:
- Create a bootable MicroSD storage card to launch 86Duino system firmware (Refer to: Advantage for launching 86Duino Firmware from MicroSD)
- Update 86Duino firmware on internal flash, including the bootloader.
- Update 86Duino system BIOS.
This application note talks about SysImage installation and usage (For more information refer to this URL).
Preparation
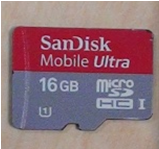
- You will need a MicroSD storage card with 1 GB or larger capacity.
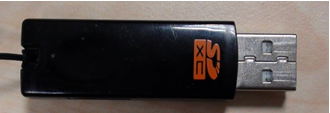
- An USB-to-MicroSD adapter is also needed.
Step 1
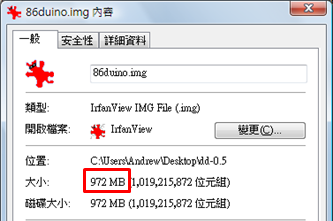
Download the latest version 86Duino SysImage. After unzip the content to a directory on your development machine, you will see the 86duino.img image file, approximately 1 GB in size.
Step 2
86Duino SysImage can be restored to MicroSD card by using the tool: “dd” or “Win32 Disk Imager”.
Click here to see how to restore 86Duino SysImage using dd tool. As following, we will introduce how to restore 86Duino SysImage using Win32 Disk Imager tool:
Download the Win32 Disk Imager tool: http://sourceforge.net/projects/win32diskimager/?source=typ_redirect
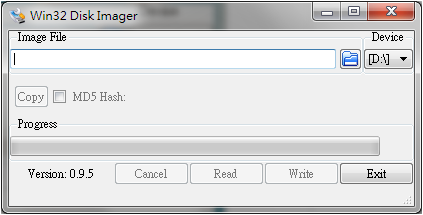
The downloaded file is a installation file which name look like “Win32DiskImager-x.x.x-install.exe”, then install and execute it, you can see the Win32 Disk Imager interface as shown below:
Step 3
In this section, we will work through the steps, using 86Duino SysImage, to place 86Duino system firmware on to the MicroSD.
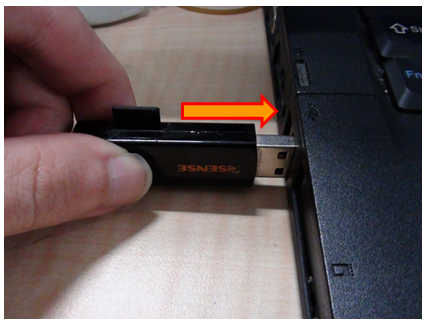
With MicroSD storage card inserted to the USB-to-MicroSD adapter, insert the adapter to the development PC.
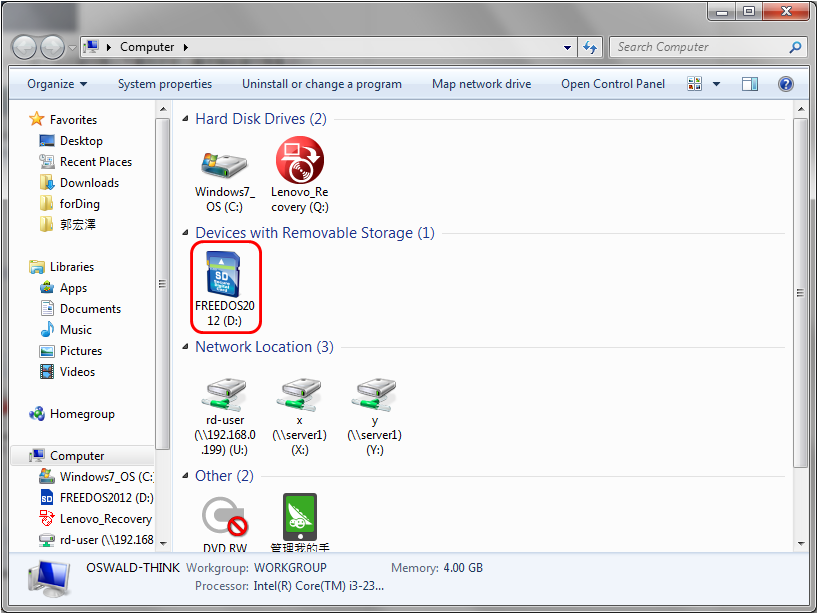
After the USB-to-MicroSD adapter is inserted, the MicroSD is recognized by the PC as a storage device. From File Explorer or My Computer screen, identify the drive letter assigned to the MicroSD storage. In our case, driver letter ‘D’ is assigned.
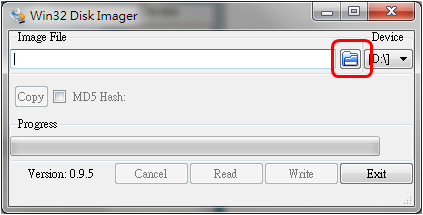
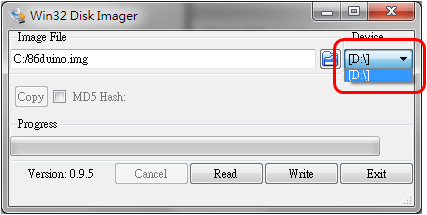
Back to Win32 Disk Imager interface, and click the button (as shown below) to select 86Duino SysImage:
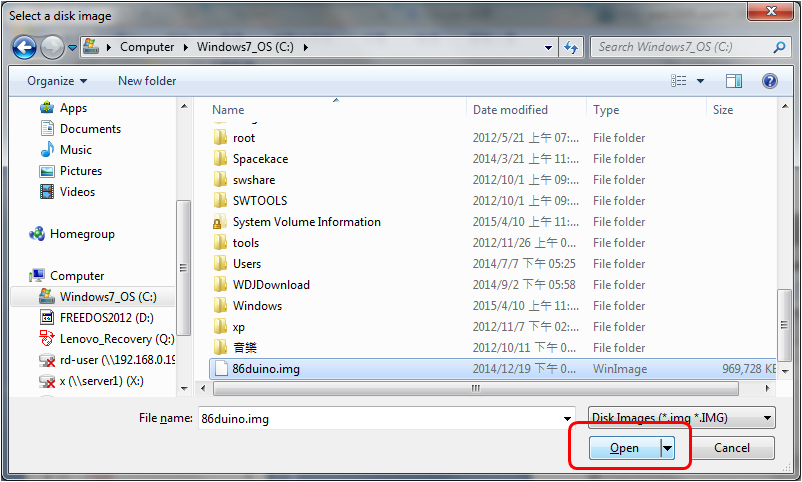
In our case, select “c:\86duino.img” and click “Open” button.
Then, select the drive letter of the MicroSD storage (as shown below). In our case, the drive letter is D:\
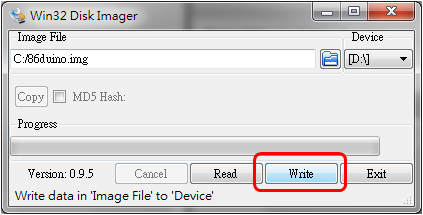
Click “Write” button.
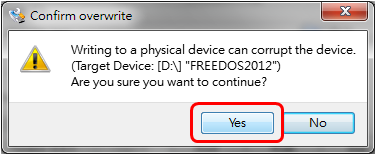
Click “Yes” button.
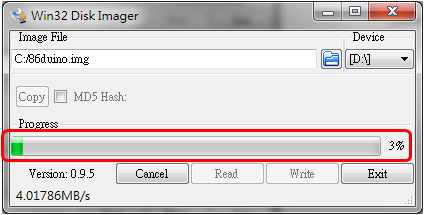
Win32 Disk Imager starts to restore the 86Duino SysImage to MicroSD card, and you can see the restoring process as following:
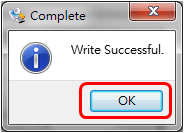
When restoring process is completed, click “OK” button to end.
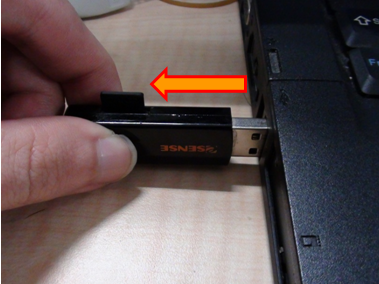
Remove the USB adapter from the development machine and remove MicroSD storage card.
Step 4
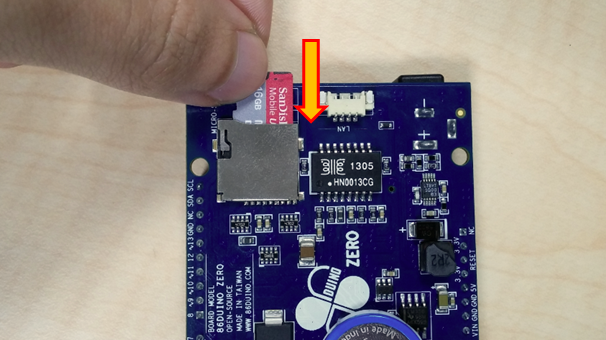
Insert the newly configured MicroSD storage card to the 86Duino board, using the MicroSD as the boot device and apply power to the 86Duino board.
During power on, the 86Duino board detects the inserted MicroSD storage card. When a valid boot partition is found on the MicroSD storage, the 86Duino board will continue the boot process using the MicroSD storage as the bootable storage, instead of the internal flash.
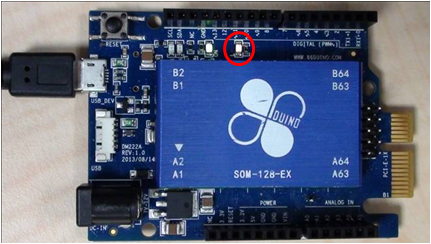
After successfully boot from the MicroSD storage, you can see the LED on the 86Duino board (as shown below) blinks 3 short pulses, follow by 2 long pulses, which indicates the 86Duino board successfully launched the new SysImage from the MicroSD storage.
Next, you can reset power to the 86Duino board and boot from the updated 86Duino BIOS and bootloader on the internal flash. Or, you can boot the 86Duino board using the MicroSD storage created from this application note and use it as the target device, and deploy sketch (86duino application) from the 86Duino IDE to the 86Duino board.
Note: SysImage is a sketch (86Duino application). When you deploy another sketch onto the MicroSD, it will overwritten and delete SysImage.
For more information about how to use SysImage, refer to information on this URL.
The text of the 86Duino reference is licensed under a Creative Commons Attribution-ShareAlike 3.0 License.
