L86duntu Installation (Windows)
We are going to show you how to install L86duntu on a Linux operating system.
Preparation
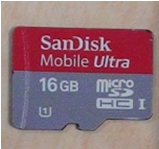
You will need a micro SD card that has a capacity of at least 8GB (16GB recommended).
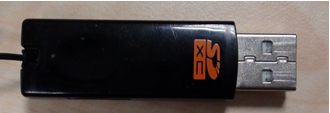
An (micro) SD card reader.
Step 1
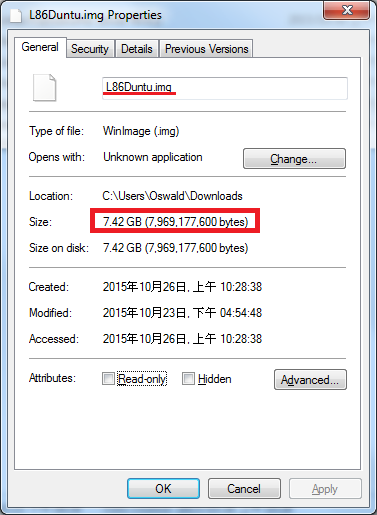
Please download the latest version of L86duntu zip file and unzip to your system under /temp. The L86Duntu.img file will be about 8GB in size.
Step 2
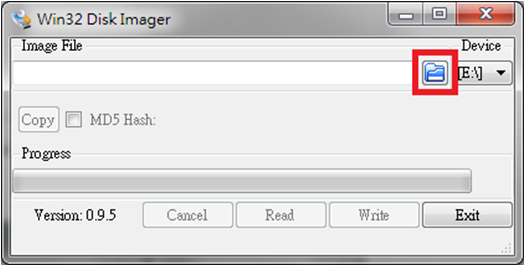
Download Win32 Disk Imager tool. Run the exe file (“Win32DiskImager-x.x.x-install.exe”) after downloading and you will see the following:

Step 3
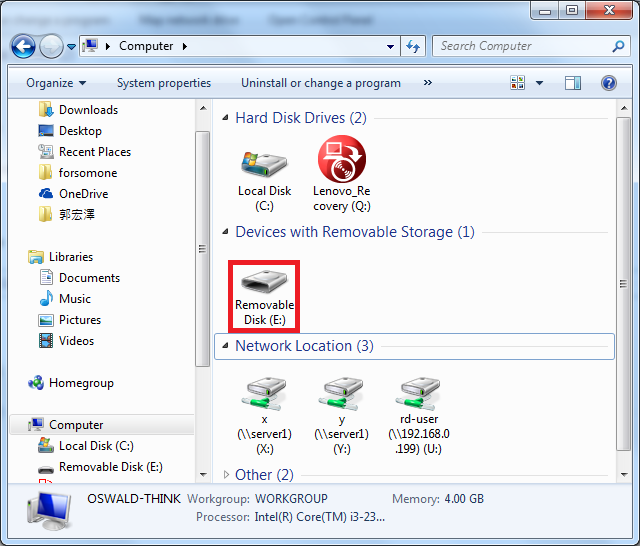
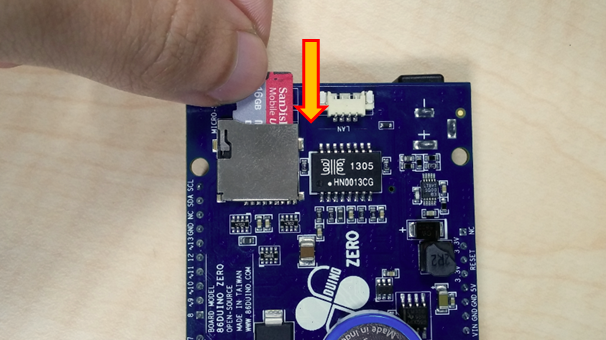
Insert the micro SD card into a card reader and then plug into your PC.
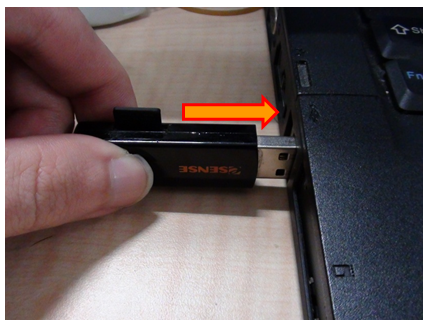
You should be able to see the microSD card in “My Computer.” (In this case, the microSD card reader will be Removable Disk in E: drive)
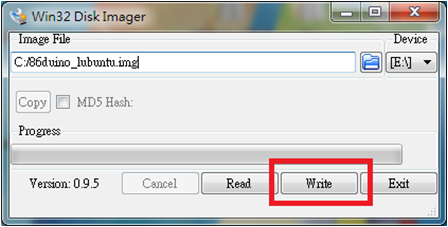
On the Win32 Disk Imager screen, click on browse to locate the L86duntu.img file.
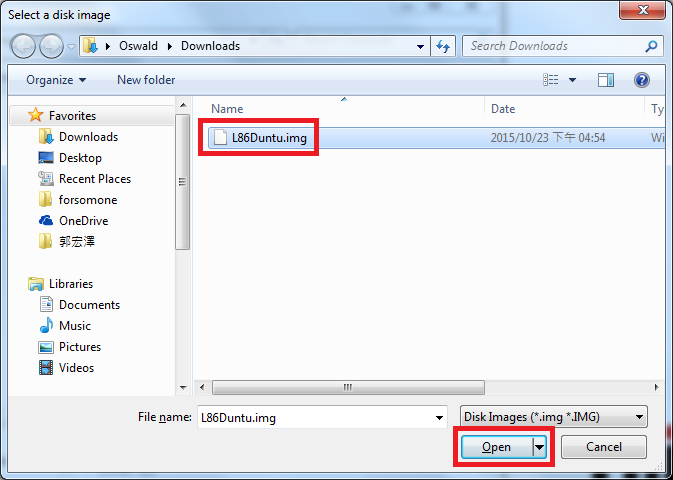
Select the unzip L86duntu.img file and click “Open”:
Select the removable storage drive, which is E:\
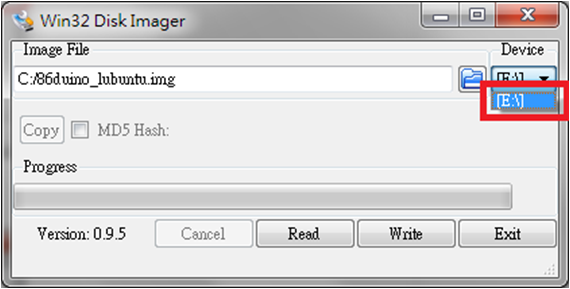
Click “Write”:
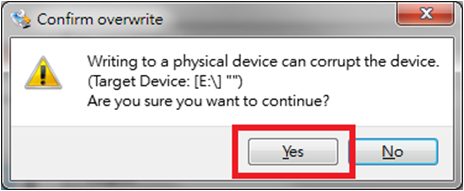
Confirm overwrite by pressing “Yes.”
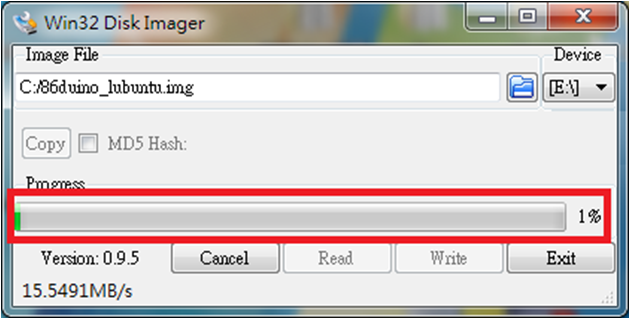
The Win32 Disk Imager will install the L86duntu.img onto your removable storage.
Click “OK” to complete the installation.
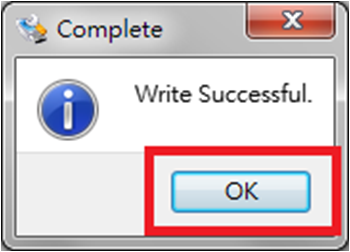
When finished, unplug the storage device.
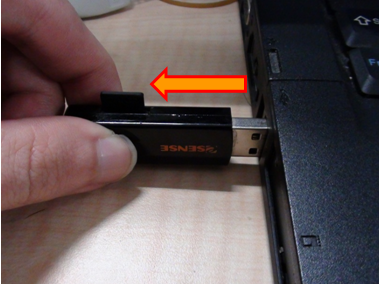
Step 4
Plug the storage device into 86Duino and connect power.
The 86Duino will detect if it can boot up from the microSD card, or just boot up from built-in Flash.
If the 86Duino boot up from microSD card, you can use console redirection to control L86duntu (Please see chapters 4 and 6 of L86duntu).
If your storage drive is larger than the 8GB (e.g. 16GB, 32GB, etc.) allocated to L86duntu, you will notice that you cannot make use of all the storage. Please see how to manually extend the storage space in L86duntu.
The text of the 86Duino reference is licensed under a Creative Commons Attribution-ShareAlike 3.0 License.